I have been on a real Trader Joe's kick this last week or so. I believe I walked into that store 3 different days this week. Not only are the prices a bit better than the big stores, their food is natural and healthy. I love going in and seeing all of the natural, organic, and local ingredients. My kitchen is full of whole wheat and soy products right now! Which is different, because I don't even know when I have had anything soy before. I always compare nutrition before I buy things like this, because sometime it can say "soy", "organic", "guilt-free" and still not be that much better for you. So I always spend forever looking at one product in that store. It's crazy how awesome it is, and today it just got even more awesome!
Now as you have seen from my previous recipes, I eat meat. Mostly poultry, and not that much red meat. Don't get me wrong, if see a good filet mignon or new york steak on the grill I'm all for it. Put that on a plate with some roasted potatoes and I'm good to go. But there are those meat products that are definitely on my do-not-touch list. For example, Chorizo. If you have ever had chorizo you know how delicious it is, and how bad it can be for you. My mom always made us chorizo for breakfast. I remember waking up in the mornings and smelling it, oh man how delicious those days were. Then as I got older and started eating healthy I learned what was in chorizo and decided to back off. I haven't had any for almost 2 years. There would be days when I would crave a good chorizo burrito, but I knew I couldn't go there. That door was closed. Then yesterday happened!
As I was walking through Trader Joe's I spotted this:
 |
| Look at it's beauty! |
I was very skeptical and studied the packaging for a few minutes. I couldn't decide if I should try it, I was afraid it wouldn't taste anything like the real stuff. So, thanks to modern technology, I took out my phone and looked up reviews on the product I had in my hands. The reviews were great. People said it tasted the same, had a great hint of spice, and that it was amazing. Even though the reviews were all good, I still wasn't sure, but I went to buy it anyways. On my way out I stopped a worker at the store and asked her opinion, she said it was delicious. I felt a bit more confident about buying it. As I was checking out the cashier asked what I was going to make, I said a breakfast scramble and then proceeded to ask him what he thought of this meatless product. He said he loved the real thing, and this was just as good. Okay, I was feeling a lot better. So I planned my breakfast.
This morning I was excited, because I haven't had chorizo in so long. Of course I was still nervous, but as I removed the casing from the chorizo, it smelled exactly like the real stuff. That was when I knew I had opened a door to one that I closed so long ago. I can now enjoy one of my favorite dishes without feeling guilty about the calories and fat. Now, if only I can stick to one serving and not eat the whole pan by myself. :)
 |
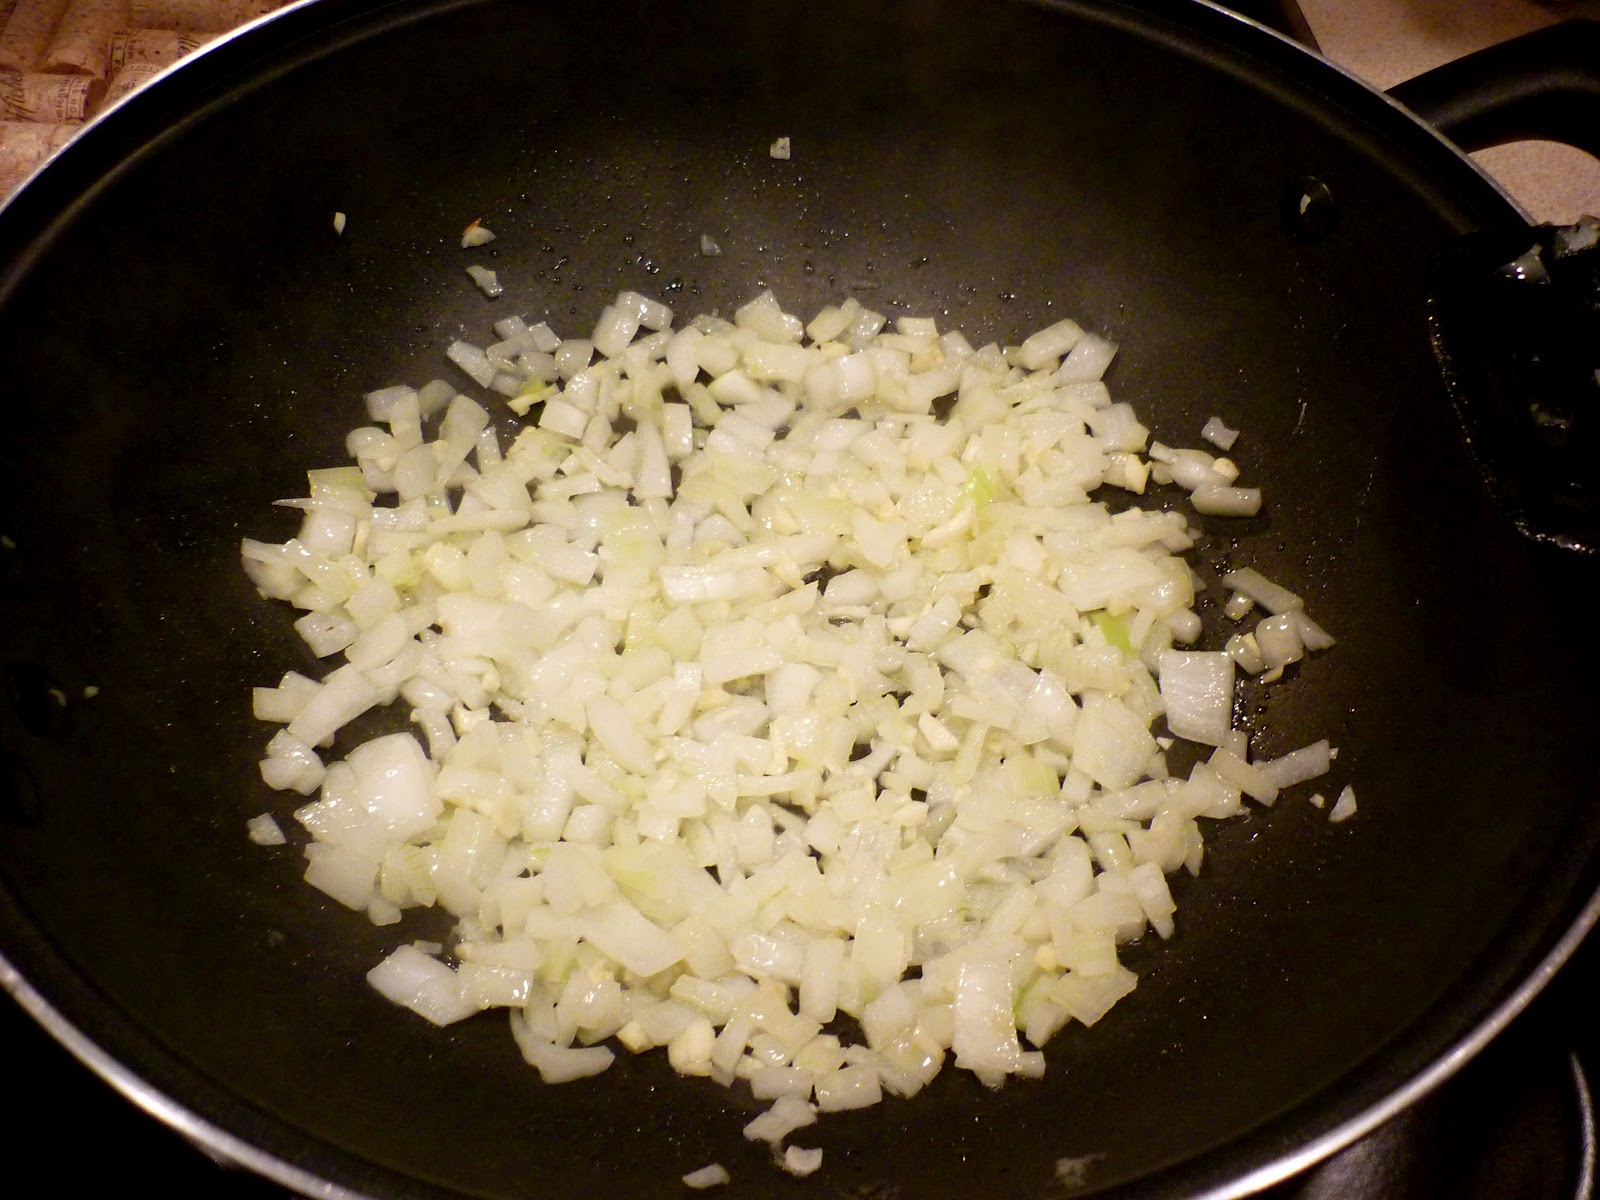
| This is pretty much the base, eggs and chorizo. You are welcome to add whatever else you like. I have seen recipes that had potatoes, peppers, mushrooms...the possibilities are endless! As you will see I had an onion on hand so I used that. If I had jalapenos or bell peppers in my fridge those would have been in that pan too. |
 |
| Do not over mix the eggs. You want them to be a little separated before going into the pan. |
 |
| I bought this olive oil at Pike Place Market in Seattle. You can use regular extra virgin olive oil if that is what you have. I had this, which was a fortunate thing! Sotto Voce is the Washington based company that makes infused oil and vinegar. I plan on getting more in the future, their products are delicious! |
 |
| Hello, Delicious! |
Soy Chorizo Breakfast Scramble
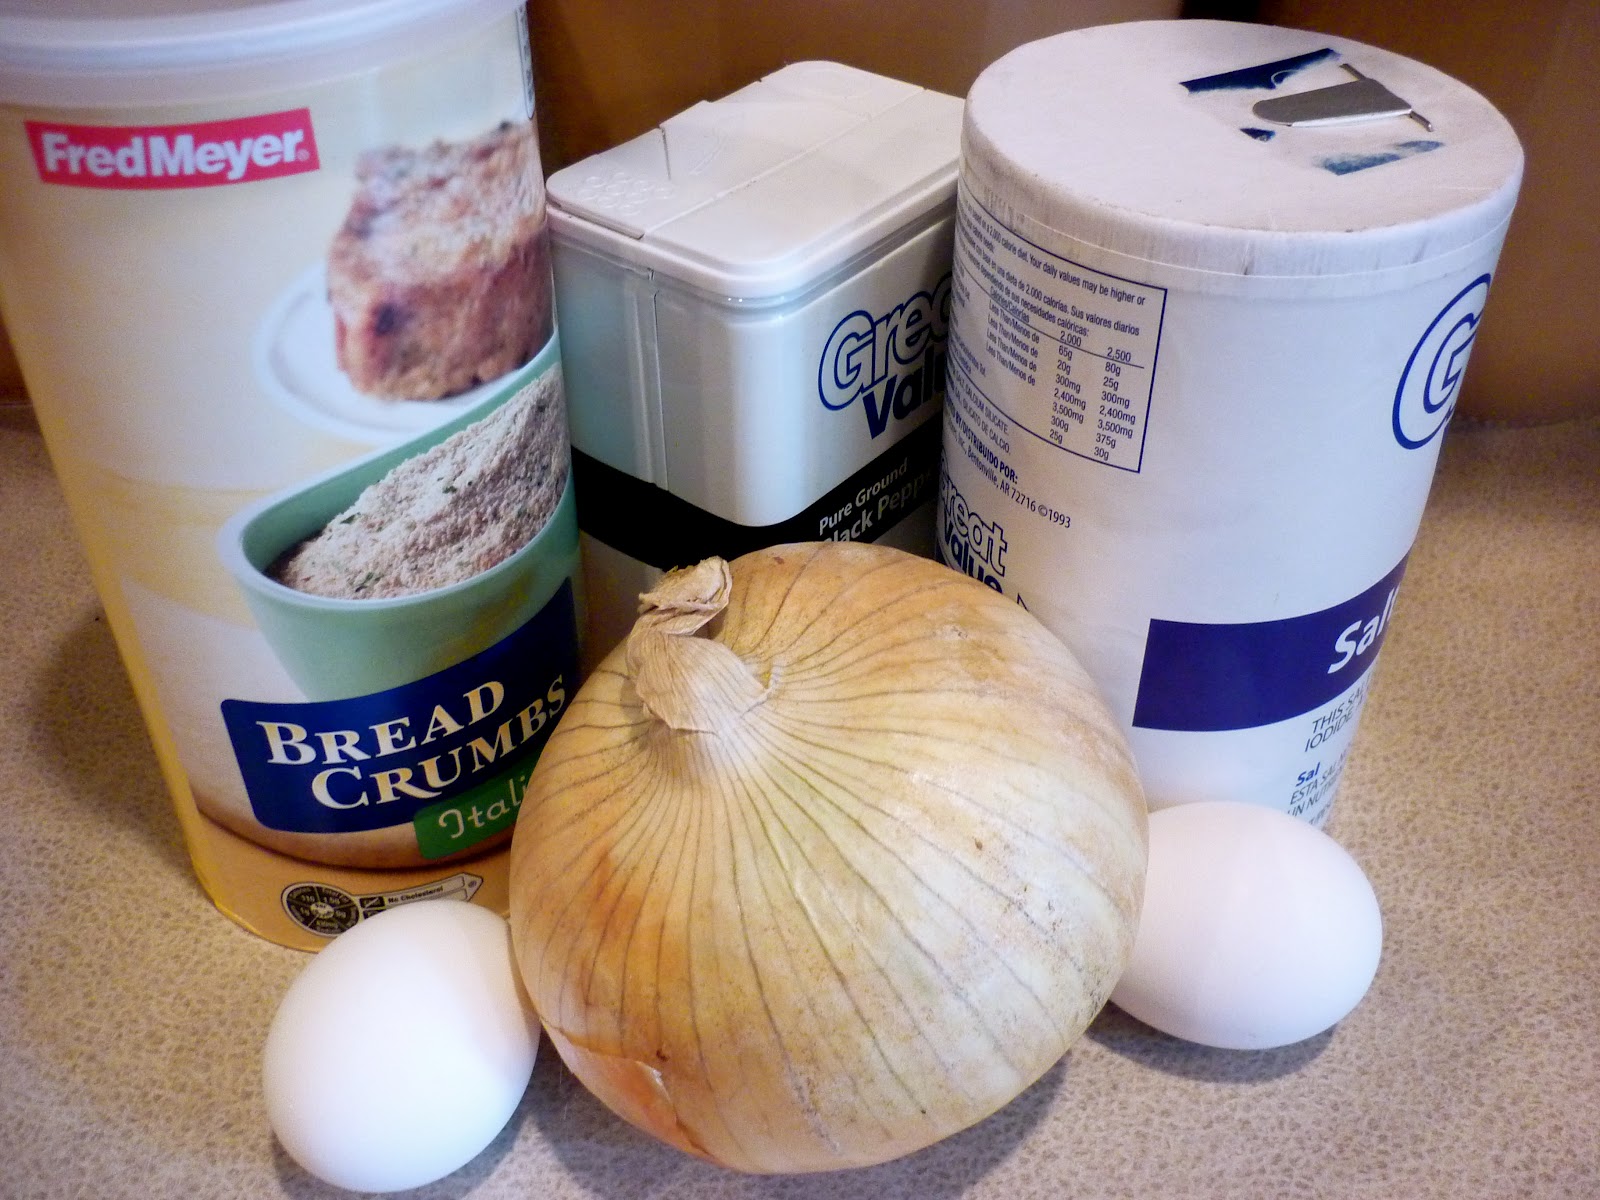
Ingredients:
1 tbs olive oil
1/4 of a large onion, diced (optional)
12 oz Soy Chorizo (Trader Joe's version is delicious!)
2 tsp red pepper flakes
2 large egg whites
2 large eggs
salt and pepper to taste
Flour or Wheat tortillas (optional)
Directions:
- Heat oil in large non-stick skillet on medium-high heat. When pan is hot, add onion and cook for 1-2 min.
- Remove casing from chorizo and add to pan. Stir to crumble, cook for 3-4 minutes until heated through. Add a little bit of salt and pepper to taste.
- Combine eggs and egg whites in separate bowl (do not over mix). Add eggs and red pepper flakes to chorizo mix. Cook for 3-4 minutes, stirring occasionally to make sure the eggs mix well with chorizo. When mixture starts to brown remove from heat, cover with a lid to keep warm. Serve as desired.
- If using, place tortillas on a microwave safe plate and heat for 30 seconds, until pliable. Place about 1/2 cup chorizo mixture on tortilla and roll into a burrito.
Makes 6 servings.
Nutrition: (per serving - not including tortilla) Calories 165; Fat 12g; Carbs 7g; Protein 11g; Cholesterol 57mg; Sodium 623mg; Fiber 3g