Showing posts with label cheese. Show all posts

Wednesday, September 10, 2014

Pumpkin Cupcakes with Cinnamon Cream Cheese Frosting (great at high altitudes too!)


So the title of this recipe should really be The-most-delicious Pumpkin Cupcakes with Super-Heavenly Cinnamon Cream Cheese Frosting. I can not explain in words how fantastic these cupcakes are. I have made them two years in a row now, and every time I do they are gone with-in 24 hours. The recipe makes about 20-24 cupcakes, so I always give some to friends and co-workers, but trust me, they do not last long. Especially with this cream cheese frosting. The cinnamon and vanilla give it such an elegant taste that you may just eat the bowl before frosting the cupcakes. I'm not going to lie and say I didn't have a few spoonfuls myself. :)

If you are looking for a way to start off this fall season, these are the way to go. Super simple, but oh so delicious. I found this wonderful recipe at Nancy Creative. Thankfully these are perfect for high-altitude baking as well. I was so excited when I made these the first time and found out that I didn't need to mess with the recipe at all. They rose to the perfect fluffy texture.


The frosting recipe below makes a TON of frosting. I had half of the frosting left over when I finished putting some on the cupcakes. Now if you want to use the whole bowl, I'm not saying you shouldn't. The measurements below allow you to liberally frost each cupcakes with this heavenly frosting. Next time I make these (and I definitely will) I think I will half the frosting recipe. I even thought about doing that this time but I decided against it. Unfortunately I couldn't justify eating the bowl of frosting on it's own, so I had to throw away a lot of it. So just a heads up, half the frosting if you don't think you will top each cupcake with at least two inches of it. :)

Tuesday, July 1, 2014

4th of July Cheesecake Yogurt Cupcakes


The 4th of July is a great time of year. Cold weather has finally moved away, and the sun shows it's face a little more. Grill parties are definitely a staple when the weather gets nice. The fresh ingredients that come out at this time of year are also why summer is great!

For some reason, the month of July has always put me in a good mood.  If we were back in Washington we would have been to at least two baseball games already. (Excuse me while I day dream about garlic fries and soft pretzels.) I love seeing the American pride everywhere too. That might be because we are a military family. Ever since my husband enlisted, holidays like the 4th of July and Memorial Day have a whole new meaning. I take pride knowing my husband is spending everyday doing what he does in part to work toward his dream, and sacrificing so much in order to do so.


You know, I may be feeling all "Let's go America" because of the World Cup going on right now. We are huge Seattle Sounders fans, and have been cheering on the players that have made it onto the USA team. Being able to watch the USA go as far as they did was awesome! Of course I wish they could have gone further. :(

Sunday, June 22, 2014

Greek Yogurt Cheesecake


In my last post I mentioned that I was back to calorie counting. It's been going okay so far. There have been no casualties or injuries. The people that know me well, know that when I get hungry, I am not the happiest/nicest person to be around. I'm finding that I need to always have snacks on me to curb those cravings. All that means is that I really have to be strategic about what I'm eating. Once you find the right snacks and meals for you though things get really easy. :)

With calorie counting, I have to be careful about desserts. I love desserts. My sweet tooth is bigger than my stomach that is for sure. So I went in search of low calorie, "healthier" desserts. That is when I stumbled across this beautiful recipe. Oh man, I can't even tell you how much I love cheesecake. If I could eat it everyday, and not gain an ounce, I would totally do it. So of course I was definitely going to make this and eat it all up. Well not all, that wouldn't help me at all in my counting.


Since this is made with plain Greek yogurt, it's not as sweet or rich as regular cheesecake. When you are trying to eating a little healthier sometimes you have to change up the things you love. Even though this wasn't the sweetest cheesecake I ever had, it was definitely one of the best. Knowing that one slice wasn't going to make me feel full and weighed downed made it even better. My husband even went back for seconds, and he doesn't like sweets as much as me. :)

Sunday, June 15, 2014

Open Faced Enchilada Veggie Quesadillas


Well, I have decided to go back to calorie counting. When I lost weight a few years ago that was one of the ways I was able to stay on track. Ever since we have moved here to Colorado, I have been slacking on my eating and exercise habits. I will still exercise now and then, but a routine would never stick. So I have decided to try something I know helped me in the past. Honestly, even after a few days of counting I do feel loads better! There really isn't anything bad about calorie counting, but my big sweet tooth has to be tamed that is for sure. I have to find different ways to curb my sweet cravings. Small pieces of chocolate, a bite of a lemon bar, fruit...etc. If you are thinking about calorie counting it does take a lot of will power and a good workout routine. Start out with an easy daily goal and then work down from there. Then add in whatever workout you did for that day and you will be able to eat a little more too. 

Enough about my crazy self! On to delicious food!!

Monday, April 14, 2014

Chiles Rellenos Casserole


The best recipes for a hot day are light, refreshing dishes that don't weigh you down. An ethnic remix to a beloved classic is a great twist on any spring day. Chili Rellenos is one of those classic Mexican dishes you will find on any restaurant menu. What if you are craving that fantastic dish, but you are a little too lazy to go into all the work? Don't worry that happens to me every night. Dinner would never happen in my house if I didn't like cooking so much. :)

With a little hot sauce and fluffy eggs, this twist on a classic is a great way to add a little bit of Mexico into your home. On top of the flavor and ease, this recipe is also lightened up. Tasty and healthy? Why aren't you making this right now?! :) I would personally add more chilies if I make this again, but it was a hit with my husband either way!

Monday, March 17, 2014

Slow Cooker French Dip


My slow cooker is one of my favorite appliances in my kitchen. If I could cook everyday with it I would! Pretty sure if I got determined enough I could find nonstop recipes that would allow me to use this beauty all the time. For now I don't have an infinite number of slow cooker recipes but I do have this gem right here. 

Thursday, July 18, 2013

Manicotti w/ Meat Sauce


Man, this has been one hot summer. Living in the midwest, compared to the Pacific Northwest, has been a definite change for us. We were used to summers that get up to only 70 maybe 80 degrees. Now we are close to 100 degrees. Thankfully we have AC. :)

I have been making Manicotti since I was a teenager. My mom has been making it since I can remember. This was one of the first dishes I made for my husband when we started dating, so you can say I know Manicotti. There hasn't been one recipe that I have stuck with though. I like to mix it up. This was the first time I have made this with a meat sauce, and really liked it. One thing I love about Manicotti is that you can do whatever you want to the filling or sauce. The picture of ingredients doesn't show the Italian Seasoning, because I decided to add that in later. You could really put anything you like in the filling. I love a versatile dish!


To make it easier on yourself, and not make a huge mess, put the filling in  large zip lock bag (or a pastry bag if you are fancy and have one). Snip off the corner and twist the top to apply pressure.

Look how easy that is to fill those delicious shells! No mess and really quick!


Manicotti
adapted from Cooking for Less Pasta

Ingredients:
1 container (15oz) light ricotta cheese
2 cups (8oz) shredded low moisture mozzarella cheese
1/2 cup low-fat cottage cheese
2 eggs, beaten
2 tablespoons grated parmesan cheese
1/2 teaspoon minced garlic
Salt and pepper
1 teaspoon Italian seasoning, divided
1 package (8oz) uncooked manicotti shells
1 lb ground lean turkey
1 jar (26oz) pasta sauce (any kind/flavor you like)
2 cups water

Directions:
  1. Preheat oven to 375ยบ.
  2. Combine ricotta cheese, mozzarella, cottage cheese, eggs, parmesan, and garlic in large bowl; mix well. Season with salt and pepper to taste, and 1/2 teaspoon Italian seasoning. Fill manicotti shells with cheese mixture; place in 13x9 inch baking dish. 
  3. Brown turkey in large skillet over medium-high heat, stirring to break up meat. Season with salt and pepper, and remaining 1/2 teaspoon Italian seasoning. Drain fat. Stir in pasta sauce and water (mixture will be very thin). ** Pour sauce over filled manicotti shells.
  4. Cover with foil and place dish on a baking sheet, incase of any overflow. Bake for 1 hour at 375ยบ or until the sauce is thickened and shells are tender. Let sit for 5-10 minutes, sauce will continue to thicken as it sits. 
**At this point, before pouring sauce over manicotti shells, I seasoned the meat sauce with some red pepper flakes and more Italian seasoning. You can skip that or put in any other spices you like.

Serves 6.
Nutrition: Calories 497; Fat 21g; Protein 40g; Carbs 41g; Cholesterol 159mg; Fiber 4g


Friday, June 28, 2013

Oven Fish n' Chips


My goodness has it been hot this summer. Well, hot for me. This is the first summer I have spent out of the PNW in about 15 years. Even though I may be melting, I still want to spend all day in the hot kitchen cooking up delicious food. Since it is so hot, a light and easy meal is the best way to go. This dish would definitely fit that bill. It was fast and really good. Of course you could do anything you like for the "chips". I found a great recipe for actual baked sweet potato chips that I will definitely be trying.

Hope everyone is enjoying their summer!


Oven Fish N' Chips
adapted from tasteofhome Guilt Free Cooking

Ingredients:
2 tablespoons olive oil
1/4 teaspoon pepper
4 medium baking potatoes (1 pound) {could use sweet potatoes}

Fish:
1/3 cup all-purpose flour
1/4 teaspoon pepper
1/4 cup egg substitute
2 tablespoons water
2/3 cup panko bread crumbs (could also use crushed cornflakes)
1 tablespoon grated Parmesan cheese
1/8 teaspoon cayenne pepper
1 pound frozen haddock fillets, thawed (could use cod, I used tilapia because that is all I could find.)

Directions:

  1. Preheat oven to 425ยบ.
  2. In a large bowl, combine oil and pepper. Cut potatoes lengthwise into 1/2in strips. Add to oil mixture; toss to coat. Place on a baking sheet coated with cooking spray. Back at 425ยบ for 25-30 minutes, or until golden brown and crispy.
  3. Meanwhile, combine flour and pepper in a shallow dish. In a second dish, beat egg substitute and water. In a third dish, combine bread crumbs, cheese and cayenne pepper. Dredge fish in flour, then dip in egg mixture and roll in bread crumbs.
  4. Place on a baking dish coated with cooking spray. Brake at 425ยบ for 10-15 minutes or until fish flakes easily with a fork. 
  5. Serve with potatoes chips, and tartar if desired. 
Serves 4
Nutrition: Calories 243; Fat 2g;  Carbs 28g; Cholesterol 67mg; Protein 27g; Fiber 0mg 

Wednesday, April 10, 2013

Beer Infused Pizza Dough (with Homemade Barbecue Sauce recipe)


I have to say I am really proud to post this recipe. Last night I made a completely homemade pizza, down to the dough and sauce. When I plan the next weeks menu, I try to ask my husband what he is craving. This time he showed me a recipe for Beer Infused Pizza Dough; that used one of our favorite beers. Going a little off topic here: Recently, he has been getting me to try more craft beers. Now I am proud to say I am all about the fancy full flavor beers, and not just the big brewery beers (like coors or bud). Every week we try to find a small brewery variety pack. Just to expand our beer repertoire. I'm finding one of my favorites is Sam Adams. I started with their winter variety pack, but now since it's spring I'm going for their spring variety. My husband is proud of me whenever I just try a new beer now without even blinking. :)

Anyways, back to the pizza! Yes, this dough is made with beer, and it was the easiest dough I have ever made. Normally you have to proof the yeast, but not with this recipe. It took less than 15 minutes to mix everything together. You do have to plan for the dough to rise, so save this for a day off or weekend. One thing you want to make sure of is the temperature of the beer. If it is too hot it will kill the yeast; if it's too cold it wont wake up the yeast. I actually bought my thermometer with yeast in mind, because I always killed my yeast. Yes, I'm confessing. :/ After the dough had risen, I decided to save one of the rounds. I'm glad I did because this pizza was so good! The dough has a slightly different flavor. It has a fuller, deeper flavor than regular dough made with water. When you have the dough shaped you can use anything you want for toppings. The day before I had made homemade barbecue sauce, so we decide on BBQ Chicken Pizza. The sauce was so easy to make, and it made a lot so you can save some for later. I made the sauce extra spicy, because we looove spicy! Since the sauce was so easy I decided to include it at the bottom. ***

Seriously, this pizza was so good. It came together in no time, and I was proud that it was completely homemade. Don't be scared of making your own pizza dough. It's one of the easiest things you could do, and it tastes ten times better than any store bought dough!

That's it! So simple right?!
I'm not sure if it's a blessing or a curse, but the water from our faucets can get really really hot; so I didn't have to warm up the water at all. First, I left the bottle on the counter till it got to room temperature. Then I just placed the bottle into a large bowl and filled the bowl from the faucet up to the bottleneck. It didn't take more than 10 minutes for the beer to get to the perfect temperature. 


Take your time as you stretch the dough. Make sure you get out as much air as possible, otherwise you will get bubbles during baking. 
We decided to do a BBQ Chicken pizza since I had just make homemade barbecue sauce the day before. I included the recipe below! :) ***

Beer Infused Pizza Dough
adapted from Men's Journal

Ingredients:
3 1/2 cups all-purpose flour (plus more for dusting) *
1 packet instant, high active yeast
1 tablespoon fine granulated salt
1 tablespoon extra virgin olive oil
1 bottle Sam Adams Boston Lager (warmed to 120-130ยบ) **

*As I was making this I was thinking about trying this out with wheat flour. I haven't tried it yet, but I will be doing it soon, and will update!
**I have researched and found that some beers work, and some don't. Pretty sure it's all about trial and error. One thing I read, is that it really makes a difference if you use "active yeast" beers. There are recipes where that type of beer can substitute for the yeast. Now, I'm not so certain about that. Although I will be trying out different beers in the future.

Directions:

  1. Warm the beer in a bowl of very warm, not boiling, water. If you don't have a thermometer, the beet should feel very warm to the touch.
  2. Meanwhile, in a large bowl combine flour, yeast, salt, and oil. When blended, create a pile in the center.
  3. When beer is warm, pour around flour pile creating a "moat". Stir with a fork until the dough is lumpy, then start kneading with hands. The dough should feel a little sticky, gradually add flour as your knead until it is just slightly tacky. Knead slowly by pressing down, folding it inside-out, and repeating.
  4. Split the dough into two equal sized pieces. Form each piece into a ball and place in an airtight container, sprayed lightly with cooking spray. 
  5. Place in a warm location (about 70-80 degrees). Should take about 1-2 hours, or until dough as doubled in size. To make sure it is ready press two fingers into dough; if indentations remain dough is ready. 
  6. If you plan on using both pieces of dough immediately skip this step. If you plan on saving the second ball of dough continue to read. Take one ball and place on a piece of plastic wrap that has been sprayed lightly with cooking spray. Wrap dough and place in a freezer bag. If you have a food sealer, suck out all of the air. If you don't have a food sealer, squeeze out as much air as possible. Place dough into freezer for up to 3 weeks. When ready to use dough, thaw in fridge for up to 12 hours or overnight. Half hour before use, put out onto counter top and let dough rest and get to room temperature. 
  7. When ready to use dough, stretch into size of a greased cookie sheet or a pizza stone. Tips on how to stretch dough: First be patient. I start by pressing down on the dough with my finger tips to take out any air. While doing this I start to shape it into a circle; making a border around the edge. Then I think of being a DJ. Spinning the dough in a circle with one hand as I stretch it equally in a circle with the other hand going the other directions. There are great videos all over the internet with instructions on stretching dough. That's where I learned. :)
  8. When in the shape and size you desire, put on all of your favorite toppings. Place pizza into a preheated 500ยบ oven and cook for 10-15 minutes. *If using a pizza stone, place in oven while it is preheating. Be careful when removing stone as it will be very very hot. 
Makes 2 rounds of dough for 12" to 14" pizza.

***
Homemade Barbecue Sauce
adapted from Better Homes and Gardens Slow Cooker Magazine

Ingredients:
2 1/2 cups ketchup
1 cup finely chopped onions (about 3/4 of a large onion)
1/4 cup packed brown sugar
3 tablespoons cider vinegar
3 1/2 tablespoons Worcestershire sauce (I ended up adding more near the end)
3 cloves garlic, minced
1 teaspoon hot sauce, less or more to taste (you could use mexican hot sauce, chipotle sauce; anything you have in your cupboard)

Directions:
  1. Combine all ingredients into a medium sized sauce pan. Bring to boiling; reduce heat. Cover and let simmer for 15 minutes, stirring occasionally. Use immediately or let cool and place in an airtight container. Store in refrigerator for up to 3 days. 
Makes 3 1/2 cups. 

Tuesday, January 22, 2013

Fondue Night


We made to our new home in sunny Colorado Springs! Took us about 2.5 days to get here from Washington, but it was such a great adventure. One that I am glad my husband and I were able to do together. We were lucky to find the perfect place to live only a couple days after arriving here; although we started with no furniture, we still love it! Now I just have to get used to cooking in a new kitchen.

For the past few days we have been shopping around to get the things we need, and of course I picked up a few things for the kitchen. :) My tools have changed, so it may take me a bit to get new recipes up, but I will try my hardest to get going! Thankfully, I have a back log of recipes to post.

One type of cuisine/meal/dish that I have loved for years would be fondue. I fell in love with a restaurant a few years ago and my mom was awesome enough to get me my own fondue pot. I've used it a couple times, but never like this. It was mostly there so I can enjoy chocolate in a fancy way. :) This time I really wanted to use it like you may at a restaurant. So I looked through my fondue cookbook, and gathered all the necessary items. It was really easy! I picked up everything that morning (look for meat sales if you plan on eating them that night), prepped what I needed to, and stored it in the fridge until it was dinner time.  Since I had everything prepped, all I needed to do that night was make the broth and that took no more than five minutes. If you plan ahead this will be one of the easiest meals ever. Plus, it's not one of those dinners that take three minutes to eat so you get to spend a fantastic night with people you love over a great meal! Okay, I will stop rambling and let you all get to cooking!

Here are some great dipping sauce ideas. They were also in the cookbook and went perfectly with the cooking style broth. I loved the Island Sauce, it was sweet and spicy!


Green Goddess Sauce Melting Pot Cookbook

Ingredients:
3/4 cup cubed softened cream cheese
1/2 cup milk
1/4 cup sour cream
1/4 cup finely chopped fresh parsley
1/4 cup finely chopped fresh chives
2 tablespoons minced white onion

Directions:
  1. Mix all ingredients in bowl with a whisk or an electric mixer for 1 to 2 minutes. Chill, covered, until serving time.  Makes 2 cups.


Island Sauce Melting Pot cookbook

Ingredients:
1/2 cup orange marmalade
Juice of 1/2 lime
1 garlic clove, minced
1 teaspoon chopped fresh parsley
1 teaspoon kosher salt
1/2 teaspoon cayenne pepper
1/2 teaspoon onion powder
1/4 teaspoon ground pepper

Directions:
  1. Combine all ingredients in a bowl and whisk until fully mixed. Makes 3/4 cups.

Meat and vegetable dipper ideas:
Meats:
Steak (Any kind. I went to the store and found a good meat sale. Wasn't the best quality meat, but it was still delicious.)
Chicken
Lamp
Pork

Seafood:
Shrimp (Peeled and deveined. Tails are okay.)
Lobster

Vegetables:
Broccoli
Mushrooms
Potatoes

You could really use anything that you really like!


Zen Cooking Style Fondue
Melting Pot "Dip into Something Different" cookbook

Ingredients:
5 1/2 cups warm water
Juice of 1/2 lime
3 tablespoons chopped lemongrass
3 tablespoons finely chopped onion
1 tablespoon finely chopped celery
1 tablespoon finely chopped carrot
2 tablespoons kosher salt
1 tablespoon freshly ground pepper
1 tablespoon chopped ginger
2 teaspoons garlic powder

Directions:
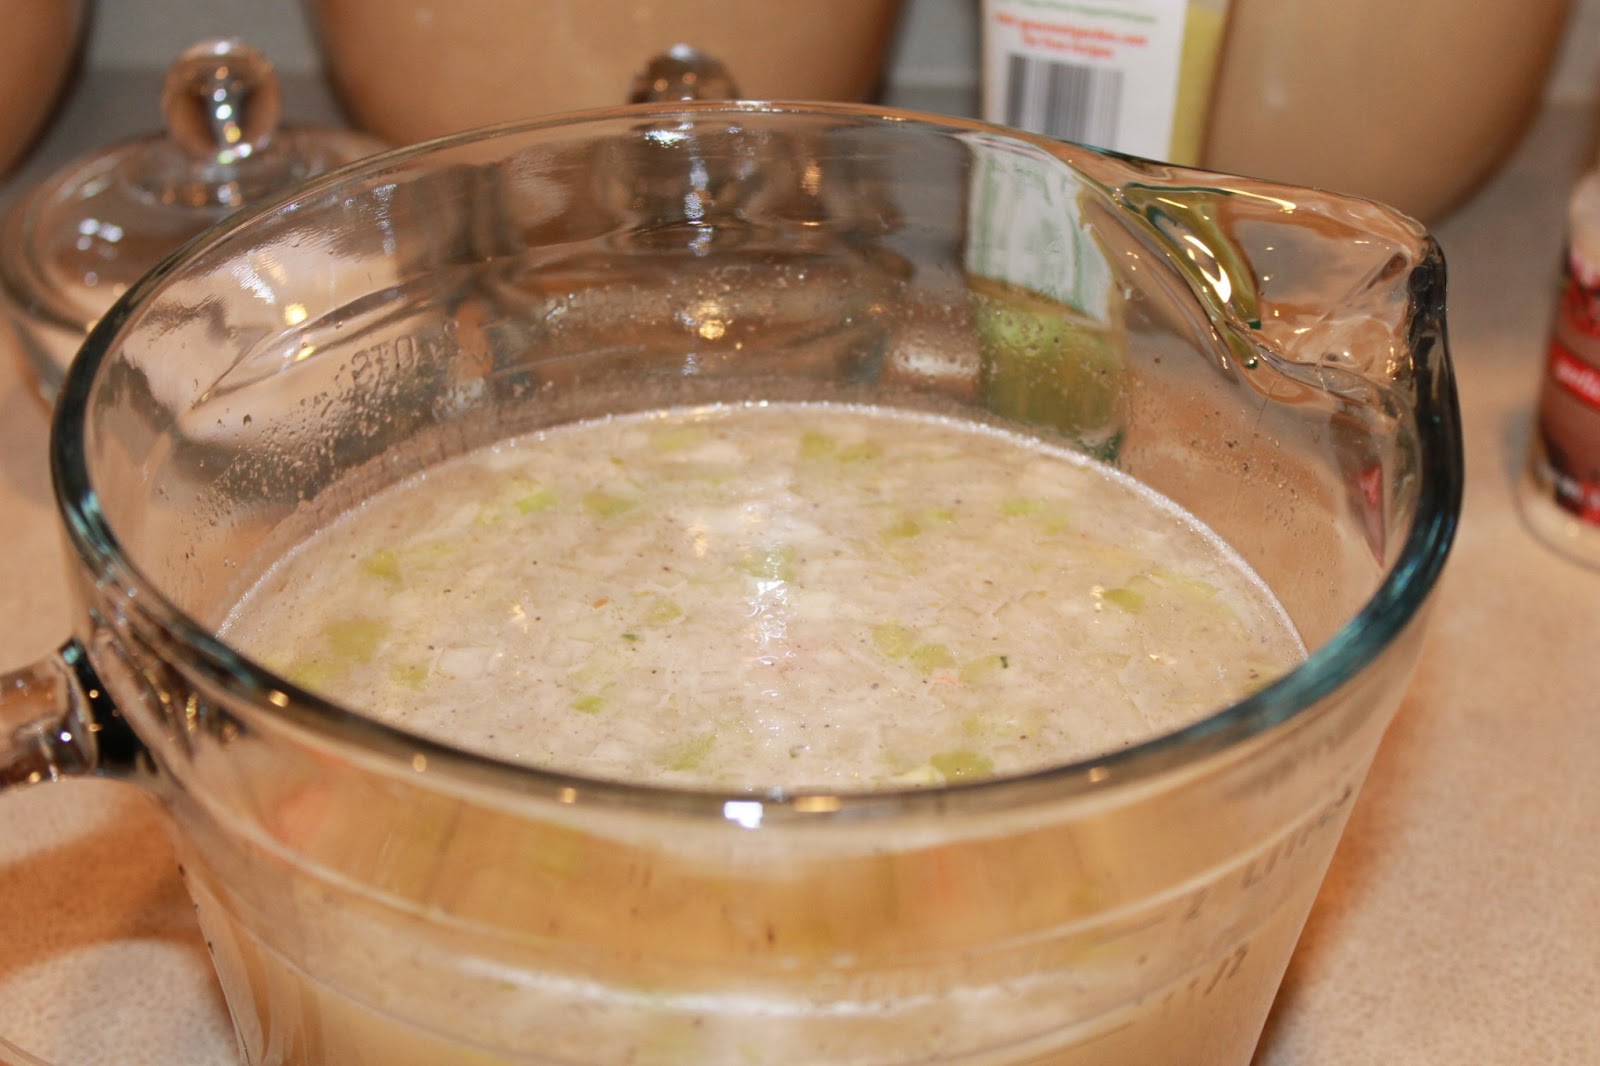
  1. Whisk the water, lime juice, lemongrass, onion, celery, carrot, salt, pepper, ginger, and garlic powder in a bowl until combined.
  2. Pour into a fondue pot (electric or manuel). Bring to a rapid simmer over medium-high heat. 
  3. Thread a piece of meat on a fondue fork; cook in brother to the desired degree of doneness. Throw the vegetables into the pot and remove with a slotted spoon when done cooking to taste. Serve with favorite dipping sauces.

Thursday, January 10, 2013

Skinny Pizza Pinwheels


This last week my husband came home from a year tour in Korea and in only a few days we will be making a long road trip to our new home half way across the country. So I may not be posting as much with the moving and unpacking I will be doing in the next few weeks. I will try to get on and post as much as I can. :)

I loved this recipe because it was so simple! We were going to watch a football game and I wanted to make something fast, but delicious. Very glad I found this recipe. They were done in minutes and I felt no guilt while eating them. When I find healthy game day snacks, I get very happy!


This is why seamless is better. My dough split apart and I thought keeping them in two pieces was smart, but it was not. I had to pull the pieces together, which was hard since I already put the filling on top. 


Skinny Pizza Pinwheels
dashing dish

Ingredients:
1 package reduced fat crescent rolls (seamless works best)
1/2 cup pizza sauce
1 teaspoon basil/oregano mix 
1/2 teaspoon garlic powder
1/4 cup turkey pepperonis, sliced into quarters (or mini turkey pepperoni)
1/8 cup shredded parmesan cheese
1/2 cup shredded mozzarella cheese

Directions:
  1. Preheat oven to 350ยบ. Line a baking sheet with foil, and spray with non-stick cooking spray. Spread the dough out over the prepared baking sheet, gently pulling on all four corners of the dough to stretch the dough out a bit. (If unable to find seamless, pinch seams together, keeping it as one large rectangle.)
  2. In a small bowl, mix together the sauce, seasonings, pepperoni, parmesan cheese, and mozzarella cheese. Spread mixture evenly out over dough, spreading evenly.
  3. Starting at long end of the dough, start rolling until dough is rolls into a long skinny log. Cut into eight even rolls.
  4. Arrange rolls swirl-side-up on baking sheet, if desired garnish top with cheese, and bake for 15-17 minutes or until slightly golden brown. Serve warm with pizza sauce for dipping if desired. 
Makes 8 pinwheels.
Nutrition: (per pinwheel) Calories 120; Fat 6g; Carb 13g; Protein 5g

LinkWithin

Related Posts Plugin for WordPress, Blogger...