Sunday, January 27, 2013

Old Fashioned Caramel Layer Cake


All week I have been unpacking and getting our new home in order. There are a few boxes I had in my old garage that I hadn't opened in two years; it was fun looking through those and seeing what I forgot I had. My husband said it was like opening up Christmas presents. Kind of felt that way for sure. It was nice to see things that I haven't seen in a while.

Like I said before because of this move, I haven't been able to make many new dishes, but that is changing soon. I have always wanted to try meal planning, and I spent the last few days looking up recipes, grocery shopping, and organizing my plans. I have a recipe planned for most of this next week, except for date night and leftover night. :) After a few weeks I will update you all on how it's going. Right now I'm starting with planning just a week ahead, then as I get used to it and get more organized I will upgrade to a couple weeks or even a month.

Okay, so are you ready for one of the most delicious cakes you will ever make in your life? If you love maple bars, I mean LOVE them, this cake is definitely for you. Even if you don't like maple bars, you still have to make this and eat it. Yes, it is a tad bit rich, but sometimes you need that in your life right? I made this cake for Christmas dinner and it was so good. I have saved this recipe and I am going to make this again, that is a promise!


To get a clean cake plate after frosting cut three long strips of wax paper and arrange them into a square on the cake plate. Frost cake and when you remove the wax paper it takes all the drippings with it. Now you have a perfect presentation!


Old Fashioned Caramel Layer Cake
CookingLight Cookbook

Ingredients:
Cake:
1 tablespoon all-purpose flour
1 1/2 cups granulated sugar
1/2 cup butter, softened
2 large eggs
1 large egg white
2 1/4 cups all-purpose flour
2 1/2 teaspoon baking powder
1/2 teaspoon salt
1 1/4 cups fat-free milk
2 teaspoons vanilla extract
Frosting:
1 cup packed dark brown sugar
1/2 cup evaporated fat-free milk
2 1/2 tablespoons butter
2 teaspoons light-colored corn syrup
Dash of salt
2 cups powdered sugar
2 1/2 teaspoons vanilla extract

Directions:

  1. Preheat oven to 350º.
  2. To prepare cake, coat 2 (9-inch) round cake pans with cooking spray; line bottoms with wax paper. Coat wax paper with cooking spray and dust with 1 tablespoon flour.
  3. Beat granulated sugar and 1/2 cup butter with a mixer at medium speed until well blended (about 5 minutes). Add eggs and egg white, 1 at a time, beating well after each addition. Lightly spoon 2 1/4 cups flour into dry measuring cups and level with a knife. Combine 2 1/4 cups flour, baking powder, and salt; stir well with a whisk. Add flour mixture to sugar mixture alternately with 1 1/4 cups milk, beginning and ending with flour mixture. Stir in 2 teaspoons vanilla.
  4. Pour batter into prepared pans; sharply tap pans once on counter to remove air bubbles. Bake at 350º for 25 minutes or until a wooden pick inserted in center comes out clean. Cool in pans 10 minutes on a wire rack; remove from pans. Peel off wax paper; cool completely on wire rack.
  5. To prepare frosting, combine brown sugar and next 4 ingredients in a saucepan. Bring to a boil over medium-high heat; stir constantly. Reduce heat, simmer 5 minutes, stirring occasionally. Remove from heat. Add powdered sugar and 2 1/2 teaspoons vanilla; beat at medium speed until smooth and slightly warm. Cool 2 to 3 minutes (frosting will be thin but thickens as it cools).
  6. Place 1 cake layer on a plate; spread with 1/2 cup frosting. Top with remaining cake layer. Frost top and sides of cake. Store loosely covered in refrigerator. 
Makes 18 slices.
Nutrition: (1 slice) Calories 307; Fat 7.5g; Protein 3.8g; Carb 56.7g; Fiber 0.4g; Cholesterol 43mg


Tuesday, January 22, 2013

Fondue Night


We made to our new home in sunny Colorado Springs! Took us about 2.5 days to get here from Washington, but it was such a great adventure. One that I am glad my husband and I were able to do together. We were lucky to find the perfect place to live only a couple days after arriving here; although we started with no furniture, we still love it! Now I just have to get used to cooking in a new kitchen.

For the past few days we have been shopping around to get the things we need, and of course I picked up a few things for the kitchen. :) My tools have changed, so it may take me a bit to get new recipes up, but I will try my hardest to get going! Thankfully, I have a back log of recipes to post.

One type of cuisine/meal/dish that I have loved for years would be fondue. I fell in love with a restaurant a few years ago and my mom was awesome enough to get me my own fondue pot. I've used it a couple times, but never like this. It was mostly there so I can enjoy chocolate in a fancy way. :) This time I really wanted to use it like you may at a restaurant. So I looked through my fondue cookbook, and gathered all the necessary items. It was really easy! I picked up everything that morning (look for meat sales if you plan on eating them that night), prepped what I needed to, and stored it in the fridge until it was dinner time.  Since I had everything prepped, all I needed to do that night was make the broth and that took no more than five minutes. If you plan ahead this will be one of the easiest meals ever. Plus, it's not one of those dinners that take three minutes to eat so you get to spend a fantastic night with people you love over a great meal! Okay, I will stop rambling and let you all get to cooking!

Here are some great dipping sauce ideas. They were also in the cookbook and went perfectly with the cooking style broth. I loved the Island Sauce, it was sweet and spicy!


Green Goddess Sauce Melting Pot Cookbook

Ingredients:
3/4 cup cubed softened cream cheese
1/2 cup milk
1/4 cup sour cream
1/4 cup finely chopped fresh parsley
1/4 cup finely chopped fresh chives
2 tablespoons minced white onion

Directions:
  1. Mix all ingredients in bowl with a whisk or an electric mixer for 1 to 2 minutes. Chill, covered, until serving time.  Makes 2 cups.


Island Sauce Melting Pot cookbook

Ingredients:
1/2 cup orange marmalade
Juice of 1/2 lime
1 garlic clove, minced
1 teaspoon chopped fresh parsley
1 teaspoon kosher salt
1/2 teaspoon cayenne pepper
1/2 teaspoon onion powder
1/4 teaspoon ground pepper

Directions:
  1. Combine all ingredients in a bowl and whisk until fully mixed. Makes 3/4 cups.

Meat and vegetable dipper ideas:
Meats:
Steak (Any kind. I went to the store and found a good meat sale. Wasn't the best quality meat, but it was still delicious.)
Chicken
Lamp
Pork

Seafood:
Shrimp (Peeled and deveined. Tails are okay.)
Lobster

Vegetables:
Broccoli
Mushrooms
Potatoes

You could really use anything that you really like!


Zen Cooking Style Fondue
Melting Pot "Dip into Something Different" cookbook

Ingredients:
5 1/2 cups warm water
Juice of 1/2 lime
3 tablespoons chopped lemongrass
3 tablespoons finely chopped onion
1 tablespoon finely chopped celery
1 tablespoon finely chopped carrot
2 tablespoons kosher salt
1 tablespoon freshly ground pepper
1 tablespoon chopped ginger
2 teaspoons garlic powder

Directions:
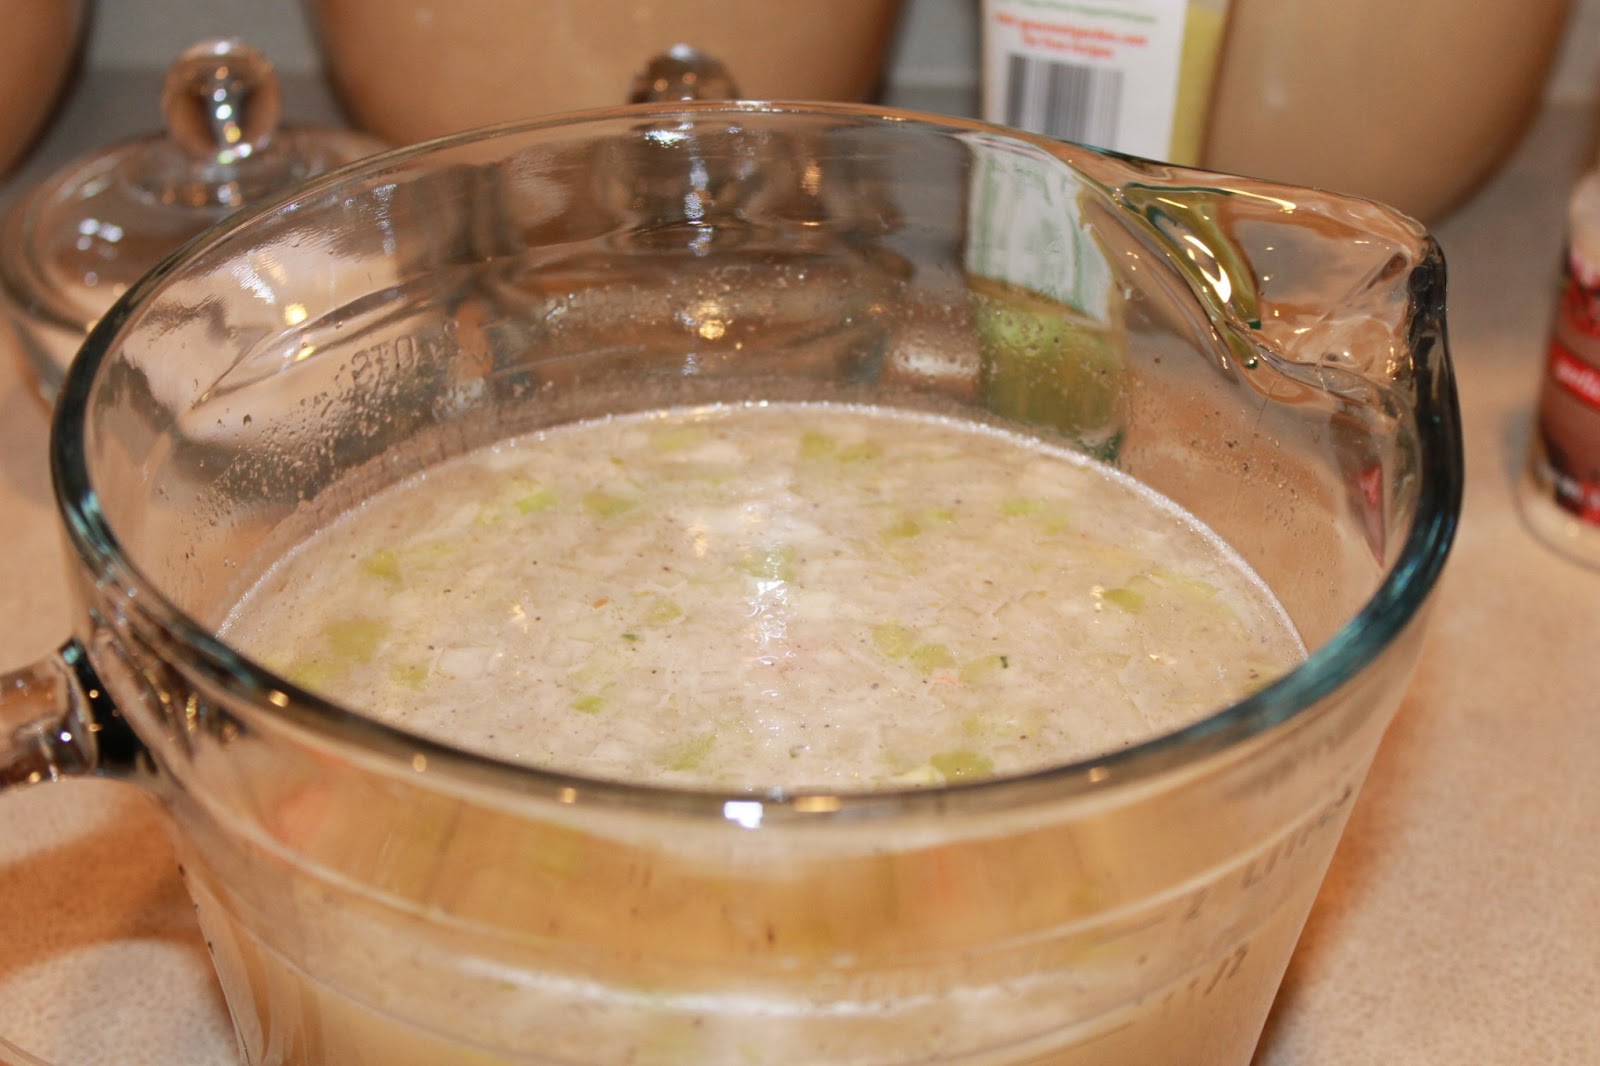
  1. Whisk the water, lime juice, lemongrass, onion, celery, carrot, salt, pepper, ginger, and garlic powder in a bowl until combined.
  2. Pour into a fondue pot (electric or manuel). Bring to a rapid simmer over medium-high heat. 
  3. Thread a piece of meat on a fondue fork; cook in brother to the desired degree of doneness. Throw the vegetables into the pot and remove with a slotted spoon when done cooking to taste. Serve with favorite dipping sauces.

Thursday, January 10, 2013

Skinny Pizza Pinwheels


This last week my husband came home from a year tour in Korea and in only a few days we will be making a long road trip to our new home half way across the country. So I may not be posting as much with the moving and unpacking I will be doing in the next few weeks. I will try to get on and post as much as I can. :)

I loved this recipe because it was so simple! We were going to watch a football game and I wanted to make something fast, but delicious. Very glad I found this recipe. They were done in minutes and I felt no guilt while eating them. When I find healthy game day snacks, I get very happy!


This is why seamless is better. My dough split apart and I thought keeping them in two pieces was smart, but it was not. I had to pull the pieces together, which was hard since I already put the filling on top. 


Skinny Pizza Pinwheels
dashing dish

Ingredients:
1 package reduced fat crescent rolls (seamless works best)
1/2 cup pizza sauce
1 teaspoon basil/oregano mix 
1/2 teaspoon garlic powder
1/4 cup turkey pepperonis, sliced into quarters (or mini turkey pepperoni)
1/8 cup shredded parmesan cheese
1/2 cup shredded mozzarella cheese

Directions:
  1. Preheat oven to 350º. Line a baking sheet with foil, and spray with non-stick cooking spray. Spread the dough out over the prepared baking sheet, gently pulling on all four corners of the dough to stretch the dough out a bit. (If unable to find seamless, pinch seams together, keeping it as one large rectangle.)
  2. In a small bowl, mix together the sauce, seasonings, pepperoni, parmesan cheese, and mozzarella cheese. Spread mixture evenly out over dough, spreading evenly.
  3. Starting at long end of the dough, start rolling until dough is rolls into a long skinny log. Cut into eight even rolls.
  4. Arrange rolls swirl-side-up on baking sheet, if desired garnish top with cheese, and bake for 15-17 minutes or until slightly golden brown. Serve warm with pizza sauce for dipping if desired. 
Makes 8 pinwheels.
Nutrition: (per pinwheel) Calories 120; Fat 6g; Carb 13g; Protein 5g

Friday, January 4, 2013

Pear and Cranberry Pie


I get these random cravings for pie. It's very weird I know. For some reason an apple pie or lemon meringue pie comes into my mind and I can't stop thinking about it. After Thanksgiving I found an extra pie crust in my fridge and that is when the pie craving started. This recipe was very different, but the idea of bosc pears in a pie sounded fantastic. It really was. The sweetness of the pears along with the tartness of the cranberries really makes this the ultimate holiday pie. I know it really isn't the holidays any more, and cranberries are really hard to find in the store right now, but I just had to share this fantastic recipe. 


Pear and Cranberry Holiday Pie
Better Homes and Garden

Ingredients:
1 pre-made refrigerated pie crust
8 cups sliced red and/or green ripe pears (7-8 pears; 3-3 1/2 lbs)
1 cup fresh cranberries
1/4 cup sugar
3 tablespoons cornstarch
2 tablespoons apple cider
1/4 teaspoon ground nutmeg
1 tablespoon sugar
2 tablespoons caramel-flavored ice cream topping, plus more for drizzling

Directions:
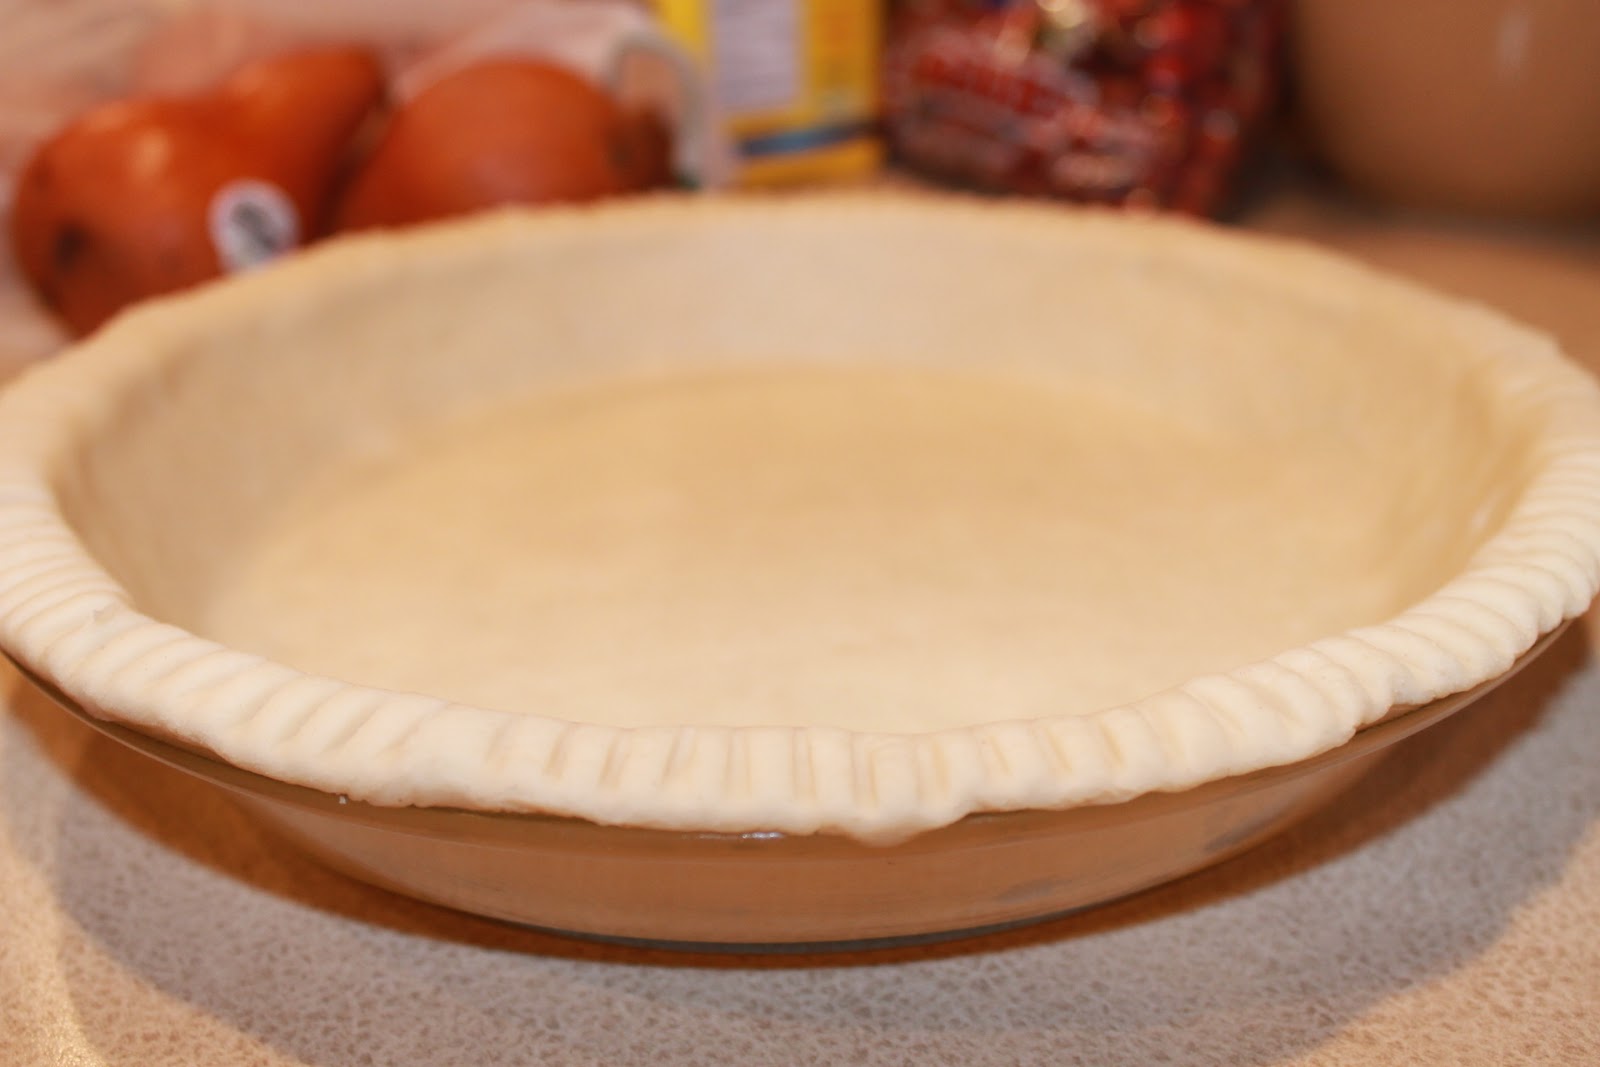
  1. Roll out pie crust into 9-inch pie pan. Preheat oven to 375º.
  2. Arrange half of pears in prepared pie pan; sprinkle with 1/2 cup cranberries. Arrange remaining pears atop cranberries. In a small bowl stir together 1/4 cup sugar, cornstarch, cider, and nutmeg; drizzle evenly over pears. Cover pie with foil. 
  3. Bake 40 minutes. Remove foil; sprinkle with 1 tablespoon sugar. Bake, uncovered, 30-35 minutes more or until pears are tender and juices are bubbly. Remove from the oven and place on a wire rack. 
  4. Meanwhile, in a small saucepan combine remaining cranberries and 2 tablespoons caramel topping. Bring to a boil; cook 1 minute. Remove from heat. Speen over hot pie. 
  5. Serve warm. Drizzle with additional caramel topping. 
Serves 8

Wednesday, January 2, 2013

Butternut Sage Pasta


I have so many fall recipes that have yet to be posted! Please forgive me for being behind the seasons. Although dish isn't too far away. Butternut squash is still considered a winter ingredient and hey, it's still winter right? I am always the person that sees Christmas as winter and then after the New Year it's almost spring, even though it's still months away. :) It can't be spring when the temperature outside is in the 20's and there is ice on my car. 

I really liked this dish. The flavor is very subtly so if you want to add a bit more spice, just sprinkle in a bit of paprika or cayenne pepper. I believe near the end of cooking I put in about a teaspoon of paprika and the flavor really took off. If you enjoy all the flavors of winter, you must try this!

Plus, you can see how easy this recipe is at the lack of pictures I took. Well, really I just forgot to take pictures because it was all done so fast. See how I justify my forgetfulness. :)


Butternut Sage Pasta
epicurious

Ingredients:
1 lb peeled and cubed butternut squash
1 small onion, diced
1/2 stick (1/4 cup) unsalted butter
1 tablespoon finely chopped fresh sage
1 1/2 cups water
3/4 teaspoon salt
 1/2 teaspoon pepper
1 cup finely grated Parmigiano-Reggiano, if desired (Could be used in sauce or only as garnish. If using for garnish you won't need the full cup.)
1 lb rotini or penne pasta

Directions:

  1. Heat butter in a 5-6qt heavy pot over medium-high heat until foam subsides, then add sage and cook until fragrant, about 15 seconds. Add cubed butternut squash, diced onion, water, salt, and pepper and simmer, uncovered, stirring occasionally, until squash is very tender and water has reduced considerably, about 8-10 minutes. 
  2. Meanwhile, cook pasta according to package directions, reserve 1 cup pasta water when ready to drain. When butternut squash is fork tender transfer mixture to a blender, or use an emersion blender if you have one. Blend until smooth. 
  3. Toss cooked pasta with enough butternut squash sauce to coat evenly. If necessary, add a little bit of the reserved cooking liquid to thin it out. Garnish with cheese. 
Serves 4-6

Monday, December 31, 2012

Maple Pecan Pie


I am getting really adventurous in my cooking lately. There are many things I have never tried, but I have this craving to make. Sounds crazy right?! This recipe was one that fell into that same category. I actually made this for Thanksgiving (yes, I'm quite behind on my posts) and my brother loves Pecan Pie. Since he was going to be at dinner, I decided to attempt this pie that he loves. When he arrived he actually thought this was a store bought pie, because it was so pretty. Nope, all me! This just goes to show you don't need to be a pro chef to tear it up in the kitchen. ☺

I have had many firsts this year. Some I have not shared with you because they were obvious firsts. Tomorrow is the beginning of a new year and I am excited to try even more recipes I wouldn't have thought of making only a year ago. 2013 is also the year this tour is ending and my husband comes home. I'm really excited to start a new chapter in life with my better half. He is the one that will eat pretty much everything so I am forecasting a lot of different foods being cooked up in my kitchen. ☺

Happy New Year everyone! Hope 2013 brings you all happiness and joy!


Maple Pecan Pie
foodnetwork magazine

Ingredients:
1 unbaked pie crust
1/2 cup light corn syrup
1/4 cup honey
1/4 cup pure maple syrup
4 tablespoons (1/2 stick) unsalted butter, melted
3 extra-large eggs, lightly beaten
1 tablespoon bourbon, such as Maker's Mark
1/2 teaspoon pure vanilla extract
1/2 teaspoon grated orange zest
1/2 teaspoon kosher salt
2 1/2 cups whole pecan halves (9 ounces)

Directions:
  1. Preheat oven to 350
  2. Line a 9-inch pie pan with the pie crust. Place on a sheet pan.
  3. In a large bowl, whisk together the corn syrup, honey, maple syrup, butter, eggs, bourbon, vanilla, orange zest and salt. Stir in the pecans and pour into the unbaked pie shell. Bake for 50-55 minutes, until the center is just set. Set aside to cool, and serve. 
Serves 8

Saturday, December 29, 2012

Chocolate Chestnut Christmas Cookies


I know Christmas is over, but we are still in the holiday season. These cookies were just right for this time of year. I saw them on a cooking show a few weeks ago, and I instantly thought, "I have to make those." They looked simple, and so delicious! The only issue I had was finding roasted chestnuts. At some of the grocery stores around me they only have whole raw chestnuts, but I didn't want to go through the hassle of roasting them myself. Finally, after lost of searching online, I found an asian grocery store only a couple miles from me that sells them. If you are having trouble finding roasted chestnuts, look at your closest asian market, they will definitely be there. Just make sure you aren't using water chestnuts, they are NOT the same thing. :)

If you are worried about the flavor of the chestnuts, don't worry about it. I have never had chestnuts before, and that didn't matter because the chocolate is a little more powerful. One tip I would have is to roll out the pie dough thinner than how it is packaged. I just used the dough as is, no rolling out or anything. The filling was a little over powered by dough, so my suggestion would be to make the dough a bit thinner. You will also get a few more cookies as well.


Chocolate Chestnut Christmas Cookies
Giada De Laurentiis at Home

Ingredients:
1 cup steamed or roasted chestnuts, packaged about 6oz (NOT water chestnuts)
1/3 cup sugar
Pinch Kosher salt
2 tablespoons amber rum
2 teaspoons unsweetened cocoa powder
1/4 teaspoon cinnamon
1/4 teaspoons cloves
1/8 teaspoon ground ginger
1/4 cup mini semisweet chocolate chips
3 to 4 refrigerated pie crusts (2 store bought packages) at room temperature
1 large egg, beaten to blend
powdered sugar, for dusting

Directions:
  1. Position a rack in the center of the oven and preheat to 425º. Line a rimmed baking sheet with parchment paper.
  2. Blend the chestnuts, sugar and salt in a food processor until the chestnuts are finely ground. Add the rum, cocoa, cinnamon, cloves, and ginger. Blend until the filling is almost smooth, scraping down the sides a necessary. Add the chocolate chips and pulse until combined. (This can be made 2 days in advanced.)
  3. Working with 1 pie crust at a time, unroll the pie crusts on a work surface and, using a 3-inch round cutter, cut out 10 rounds from each crust. Brush the pastry rounds with the beaten egg to cover. Drop 1 generous teaspoon of the filling into the center of each round. Fold half of the dough over the filling and seal to make a half-circle shape. Brush the top of the dough with the beaten egg. Place on the prepared baking sheet and bake until golden brown and crisp, 15-17 minutes.
  4. Transfer to a wire rack and cool to room temperature. Dust with powdered sugar and serve.
Makes approx. 30 or more cookies. 

LinkWithin

Related Posts Plugin for WordPress, Blogger...