Thursday, March 14, 2013

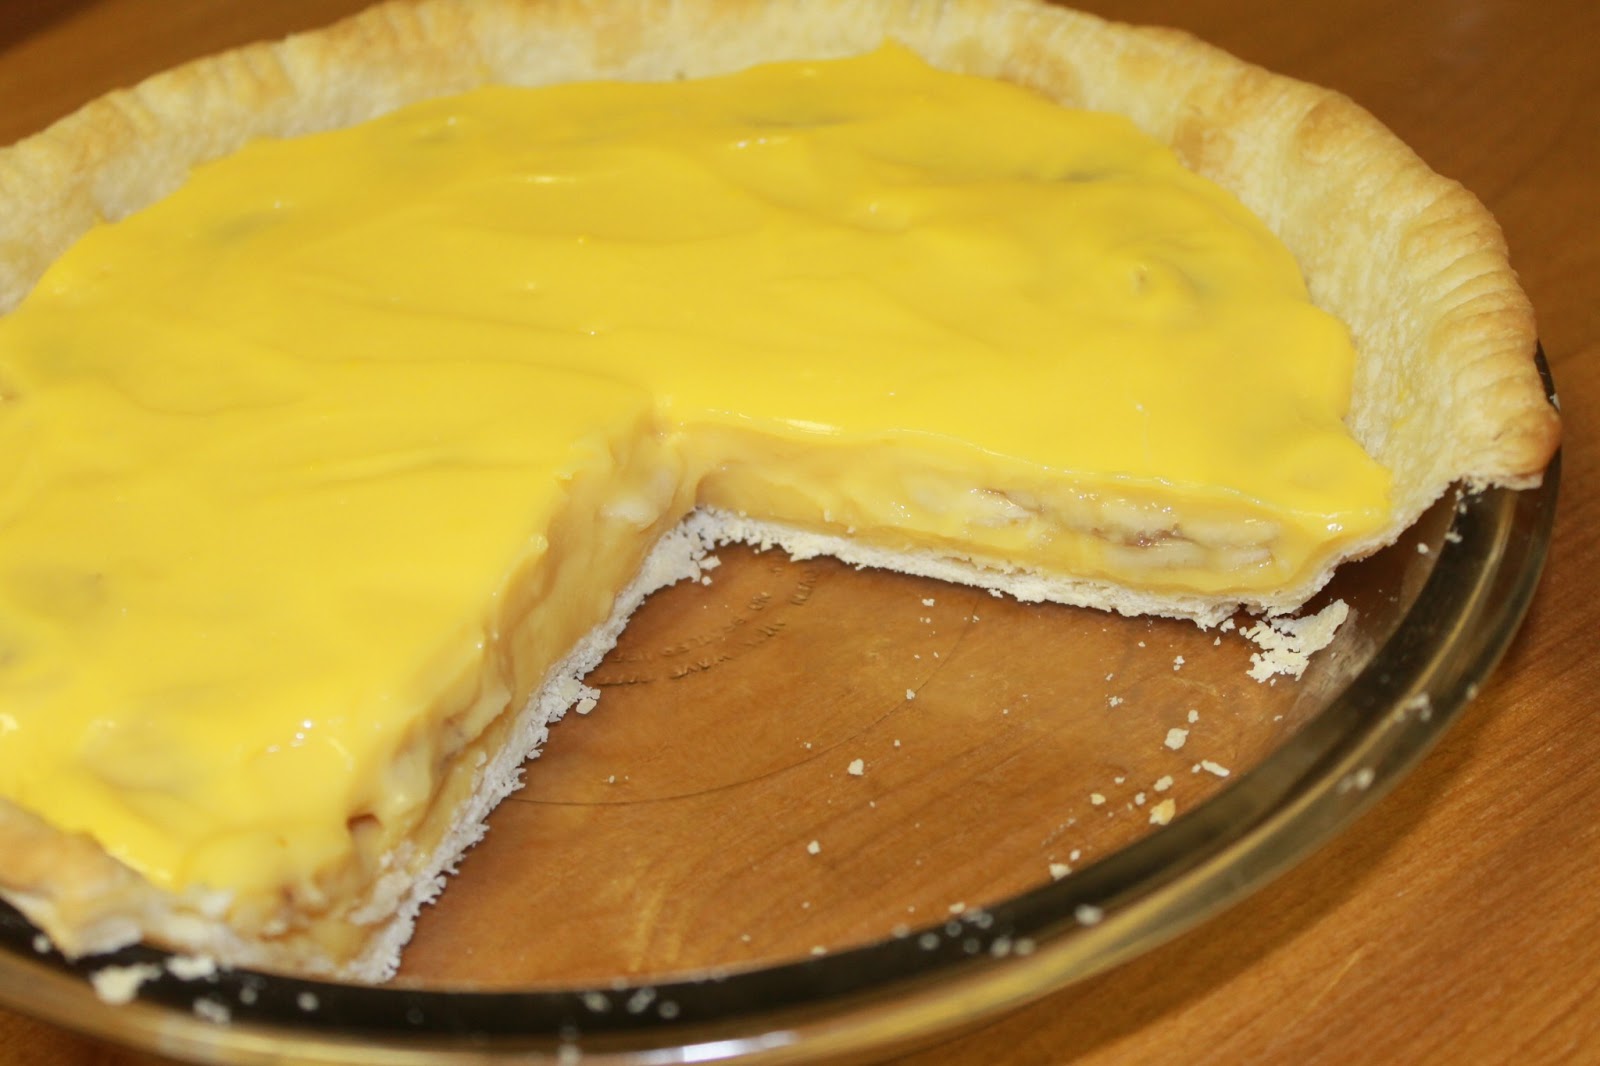
Light Creamy Banana Pie


I am ready for summer! Here in Colorado we keep getting a few days of snow, then some sun, then snow again. This week is supposed to be warm and that makes me happy! I really want to wear my summer clothes, no more jackets please. :)

It's Pie Day! March 14th. 3.14...get it :) So in celebration I posted a great recipe for a quick light dessert pie. Creamy, but not too sweet, and full of bananas. This was so easy, because you could make this hours before dinner and not have to worry about dessert. My husband was a big fan, and so was I!

Happy Pie Day!


Light Creamy Banana Pie
adapted from Light Cooking 

Ingredients:
1 pre-made pie crust, 9-inch
1 can (12-oz) Light evaporated Skimmed milk
1 box (3.4oz) French Vanilla instant pudding and pie filling
1/2 cup plain nonfat yogurt
2 bananas, thinly sliced

Directions:

  1. Bake pie crust as directed on package for empty crust; cool.
  2. In medium bowl, beat evaporated milk, pudding mix and yogurt until mixture starts to thicken. 
  3. Pour half of pudding mixture into cooled crust. Arrange banana slices over pudding mixture; top with remaining pudding mixture. Cover and refrigerate until firm. Garnish with whip topping, if desired.
Serves 8.
Nutrition: Calories 129; Fat 2g; Cholesterol 2mg; Sodium 245mg

Tuesday, March 5, 2013

Light Chicken Fried Rice


I know this may sound weird, but sometimes I get cravings for things I have never tried. Just the other day my husband said he has never heard of that and I'm a little crazy. Which is true. Well, that is what happened when I decided to make Chicken Fried Rice one day. It just sounded really good, even though I never really tried it before. Chinese food is one of my favorite splurges, but I always get white rice because it's definitely healthier. So when I got the random craving for fried rice, I wanted to find a healthy version.

Now that I'm cooking for both my husband and I, our dinners always have to include some kind of meat. I could eat a bowl of just noodles, but my husband likes to have a bit of protein with every meal. So adding the chicken to a bowl of fried rice made it a really nice dinner. Flavorful and filling!


Light and Easy Chicken Fried Rice
iowagirleats.com

Ingredients:
2 cups cooked rice (brown or white rice)
1 chicken breast, cut into bite-sized pieces and seasoned with salt and pepper (I used leftover cooked chicken, just as good)
1/2 cup frozen mixed vegetables
2 green onions, chopped
1 garlic clove minced
1 egg
3 teaspoons sesame or wok oil, divided
2 tablespoons low sodium soy sauce

Directions:
  1. Whisk egg with 1 teaspoon oil in a small dish then set aside.
  2. Heat 1 teaspoon oil in a large work or skillet over medium-high heat. Add seasoned chicken then stir fry until cooked through and removed to a plate. (If using pre-cooked chicken, you can skip this step.)
  3. Heat remaining teaspoon oil in the wok, add frozen mixed vegetables and green onions. Stir fry until tender, about 2 minutes, then add garlic and cook for 30 seconds. Push vegetables to the side of the wok and pour egg mix into the center; scramble the egg. 
  4. Add cooked chicken, rice, and soy sauce to wok then toss well to combine. 
Serves 4
Nutrition: Calories 232; Fat 6g; Protein 18g; Cholesterol 74mg; Carb 25g; Fiber 2g

Friday, March 1, 2013

Tex-Mex Chicken Panini


I am trying really hard to keep up with posting, but time keeps going so fast! I can't believe it's already March. Why couldn't last year gone this fast? One good thing is that I am trying so many new recipes, the bad thing is that I keep forgetting to take pictures and when I do I am lazy about typing up the recipes. Right now I'm busy trying to find a job, but I will try really hard to step up the posting.

Now I caught myself with this recipe, but it was after I started cooking. So as you can see I don't have the ingredient picture. This recipe was super quick and simple. My husband was a big fan of this sandwich so I am certain we will make this again!

The poblano peppers and onions are ready to be roasted.  


Tex-Mex Chicken Panini
adapted from Simply Delicious The Costco Way

Ingredients:
4 cups shredded cooked chicken (about 1 rotisserie chicken)
1 10oz can diced tomatoes with green chilies, drained
1 cup non-fat mayonnaise
3/4 cup chopped fresh cilantro
1 tablespoon minced garlic
Salt and pepper
4-6 sandwich rolls (ciabatta, torta, hoagie...etc)
3 poblano chiles, roasted, peeled, seeded and cut into strips
1 large white onion, cut into 1/4 inch slices, roasted
2 cups shredded Monterey Jack cheese

Directions:

  1. To roast peppers and onions: Preheat oven to 400º. Place whole poblanos and onion slices on a baking sheet. Roast for 20 minutes, or until the onions are tender and the poblano skins are blistered. Remove from oven; place poblanos in a large bowl and cover with plastic wrap. "Sweat" the chilies for 5-10 minutes until cool enough to handle. The skin should peel off easily. 
  2. To assemble panini: In a large bowl, combine chicken, tomatoes, mayonnaise, cilantro and garlic, mixing lightly but throughly. Season to taste with salt and pepper.
  3. Spoon about 3/4 cup of chicken mixture onto the bottom of half of each sandwich roll. Top evenly with poblano strips, onion slices, and cheese. Close the sandwiches.
  4. Grill the sandwiches in a panini press, on medium-high heat, until the bread is toasted and the cheese is melted, about 2 minutes. This could also be done on a skillet over medium heat, turning once, until bread is toasted and cheese is melted.
Makes 6 sandwiches.

Monday, February 11, 2013

Shrimp w/ Tomatoes & Scallion Couscous


So we are getting to our first month here in Colorado Springs and we are still loving it! After getting everything unpacked, well almost everything, our new apartment is really starting to feel like home. It's so nice coming home to our own place and making dinner together. I have been waiting an entire year to make dinner with my better half again! Okay done with the sappy stuff lets get to the food. :)

This is a great light dinner or quick lunch. Shrimp, with tomatoes and a crunchy flavorful bread crumb topping. So easy, yet delicious! We paired it with a mound of scallion coucous, just adding another layer of flavor. If you are in a rush on a weeknight, just get going on this. Takes almost no time at all!


Shrimp w/ Tomatoes & Scallion Couscous
Cookinglight Magazine Jan/Feb 2011

Ingredients:
Shrimp:
1 1/2 cup bread crumbs (or 3oz french bread in processor)
1/2 cup finely chopped fresh parsley
2 garlic cloves, minced
2 tablespoons butter, divided
2 tablespoons olive oil, divided
1 1/2 pounds large shrimp, peeled and deveined
1/4 teaspoon salt, divided
1/4 teaspoon black pepper, divided
2 medium tomatoes, cut into 1/4-in thick slices (about 1lb)
2 tablespoons balsamic vinegar

Couscous:
3/4 cup low-sodium chicken broth
1/2 water
3 green onions, chopped
1 cup whole wheat couscous

Directions:

  1. Preheat oven to 450º.
  2. Combine breadcrumbs, parsley, and garlic. Heat 1 tablespoon butter and 1 tablespoon oil in large skillet over medium-high heat. Add breadcrumb mixture; cook 3 minutes or until golden brown and garlic is fragrant, stirring frequently.
  3. Coat bottom of a 13x9-in baking dish with remaining 1 tablespoon oil. Arrange shrimp in a single layer in bottom of dish; sprinkle with 1/8 teaspoon salt and 1/8 teaspoon pepper. Sprinkle with 3/4 cup breadcrumb mixture; top with tomato slices. Sprinkle with remaining 1/8 teaspoon salt and 1/8 teaspoon pepper. Top with remaining 3/4 cup breadcrumb mixture; dot with remaining 1 tablespoon butter. Bake at 450º for 12 minutes or until the shrimp are done.
  4. While shrimp is cooking, bring chicken broth and water to a boil. Gradually stir in 1 cup couscous; remove from heat and cover for 5 minutes. Fluff couscous with a fork; stir in scallions.
  5. When shrimp are done, drizzle with vinegar. 
Serves 6.
Nutrition: (shrimp w/o couscous) Calories 364; Fat 16.5g; Protein 37.1g; Carb 16g; Cholesterol 274mg

Sunday, January 27, 2013

Old Fashioned Caramel Layer Cake


All week I have been unpacking and getting our new home in order. There are a few boxes I had in my old garage that I hadn't opened in two years; it was fun looking through those and seeing what I forgot I had. My husband said it was like opening up Christmas presents. Kind of felt that way for sure. It was nice to see things that I haven't seen in a while.

Like I said before because of this move, I haven't been able to make many new dishes, but that is changing soon. I have always wanted to try meal planning, and I spent the last few days looking up recipes, grocery shopping, and organizing my plans. I have a recipe planned for most of this next week, except for date night and leftover night. :) After a few weeks I will update you all on how it's going. Right now I'm starting with planning just a week ahead, then as I get used to it and get more organized I will upgrade to a couple weeks or even a month.

Okay, so are you ready for one of the most delicious cakes you will ever make in your life? If you love maple bars, I mean LOVE them, this cake is definitely for you. Even if you don't like maple bars, you still have to make this and eat it. Yes, it is a tad bit rich, but sometimes you need that in your life right? I made this cake for Christmas dinner and it was so good. I have saved this recipe and I am going to make this again, that is a promise!


To get a clean cake plate after frosting cut three long strips of wax paper and arrange them into a square on the cake plate. Frost cake and when you remove the wax paper it takes all the drippings with it. Now you have a perfect presentation!


Old Fashioned Caramel Layer Cake
CookingLight Cookbook

Ingredients:
Cake:
1 tablespoon all-purpose flour
1 1/2 cups granulated sugar
1/2 cup butter, softened
2 large eggs
1 large egg white
2 1/4 cups all-purpose flour
2 1/2 teaspoon baking powder
1/2 teaspoon salt
1 1/4 cups fat-free milk
2 teaspoons vanilla extract
Frosting:
1 cup packed dark brown sugar
1/2 cup evaporated fat-free milk
2 1/2 tablespoons butter
2 teaspoons light-colored corn syrup
Dash of salt
2 cups powdered sugar
2 1/2 teaspoons vanilla extract

Directions:

  1. Preheat oven to 350º.
  2. To prepare cake, coat 2 (9-inch) round cake pans with cooking spray; line bottoms with wax paper. Coat wax paper with cooking spray and dust with 1 tablespoon flour.
  3. Beat granulated sugar and 1/2 cup butter with a mixer at medium speed until well blended (about 5 minutes). Add eggs and egg white, 1 at a time, beating well after each addition. Lightly spoon 2 1/4 cups flour into dry measuring cups and level with a knife. Combine 2 1/4 cups flour, baking powder, and salt; stir well with a whisk. Add flour mixture to sugar mixture alternately with 1 1/4 cups milk, beginning and ending with flour mixture. Stir in 2 teaspoons vanilla.
  4. Pour batter into prepared pans; sharply tap pans once on counter to remove air bubbles. Bake at 350º for 25 minutes or until a wooden pick inserted in center comes out clean. Cool in pans 10 minutes on a wire rack; remove from pans. Peel off wax paper; cool completely on wire rack.
  5. To prepare frosting, combine brown sugar and next 4 ingredients in a saucepan. Bring to a boil over medium-high heat; stir constantly. Reduce heat, simmer 5 minutes, stirring occasionally. Remove from heat. Add powdered sugar and 2 1/2 teaspoons vanilla; beat at medium speed until smooth and slightly warm. Cool 2 to 3 minutes (frosting will be thin but thickens as it cools).
  6. Place 1 cake layer on a plate; spread with 1/2 cup frosting. Top with remaining cake layer. Frost top and sides of cake. Store loosely covered in refrigerator. 
Makes 18 slices.
Nutrition: (1 slice) Calories 307; Fat 7.5g; Protein 3.8g; Carb 56.7g; Fiber 0.4g; Cholesterol 43mg


Tuesday, January 22, 2013

Fondue Night


We made to our new home in sunny Colorado Springs! Took us about 2.5 days to get here from Washington, but it was such a great adventure. One that I am glad my husband and I were able to do together. We were lucky to find the perfect place to live only a couple days after arriving here; although we started with no furniture, we still love it! Now I just have to get used to cooking in a new kitchen.

For the past few days we have been shopping around to get the things we need, and of course I picked up a few things for the kitchen. :) My tools have changed, so it may take me a bit to get new recipes up, but I will try my hardest to get going! Thankfully, I have a back log of recipes to post.

One type of cuisine/meal/dish that I have loved for years would be fondue. I fell in love with a restaurant a few years ago and my mom was awesome enough to get me my own fondue pot. I've used it a couple times, but never like this. It was mostly there so I can enjoy chocolate in a fancy way. :) This time I really wanted to use it like you may at a restaurant. So I looked through my fondue cookbook, and gathered all the necessary items. It was really easy! I picked up everything that morning (look for meat sales if you plan on eating them that night), prepped what I needed to, and stored it in the fridge until it was dinner time.  Since I had everything prepped, all I needed to do that night was make the broth and that took no more than five minutes. If you plan ahead this will be one of the easiest meals ever. Plus, it's not one of those dinners that take three minutes to eat so you get to spend a fantastic night with people you love over a great meal! Okay, I will stop rambling and let you all get to cooking!

Here are some great dipping sauce ideas. They were also in the cookbook and went perfectly with the cooking style broth. I loved the Island Sauce, it was sweet and spicy!


Green Goddess Sauce Melting Pot Cookbook

Ingredients:
3/4 cup cubed softened cream cheese
1/2 cup milk
1/4 cup sour cream
1/4 cup finely chopped fresh parsley
1/4 cup finely chopped fresh chives
2 tablespoons minced white onion

Directions:
  1. Mix all ingredients in bowl with a whisk or an electric mixer for 1 to 2 minutes. Chill, covered, until serving time.  Makes 2 cups.


Island Sauce Melting Pot cookbook

Ingredients:
1/2 cup orange marmalade
Juice of 1/2 lime
1 garlic clove, minced
1 teaspoon chopped fresh parsley
1 teaspoon kosher salt
1/2 teaspoon cayenne pepper
1/2 teaspoon onion powder
1/4 teaspoon ground pepper

Directions:
  1. Combine all ingredients in a bowl and whisk until fully mixed. Makes 3/4 cups.

Meat and vegetable dipper ideas:
Meats:
Steak (Any kind. I went to the store and found a good meat sale. Wasn't the best quality meat, but it was still delicious.)
Chicken
Lamp
Pork

Seafood:
Shrimp (Peeled and deveined. Tails are okay.)
Lobster

Vegetables:
Broccoli
Mushrooms
Potatoes

You could really use anything that you really like!


Zen Cooking Style Fondue
Melting Pot "Dip into Something Different" cookbook

Ingredients:
5 1/2 cups warm water
Juice of 1/2 lime
3 tablespoons chopped lemongrass
3 tablespoons finely chopped onion
1 tablespoon finely chopped celery
1 tablespoon finely chopped carrot
2 tablespoons kosher salt
1 tablespoon freshly ground pepper
1 tablespoon chopped ginger
2 teaspoons garlic powder

Directions:
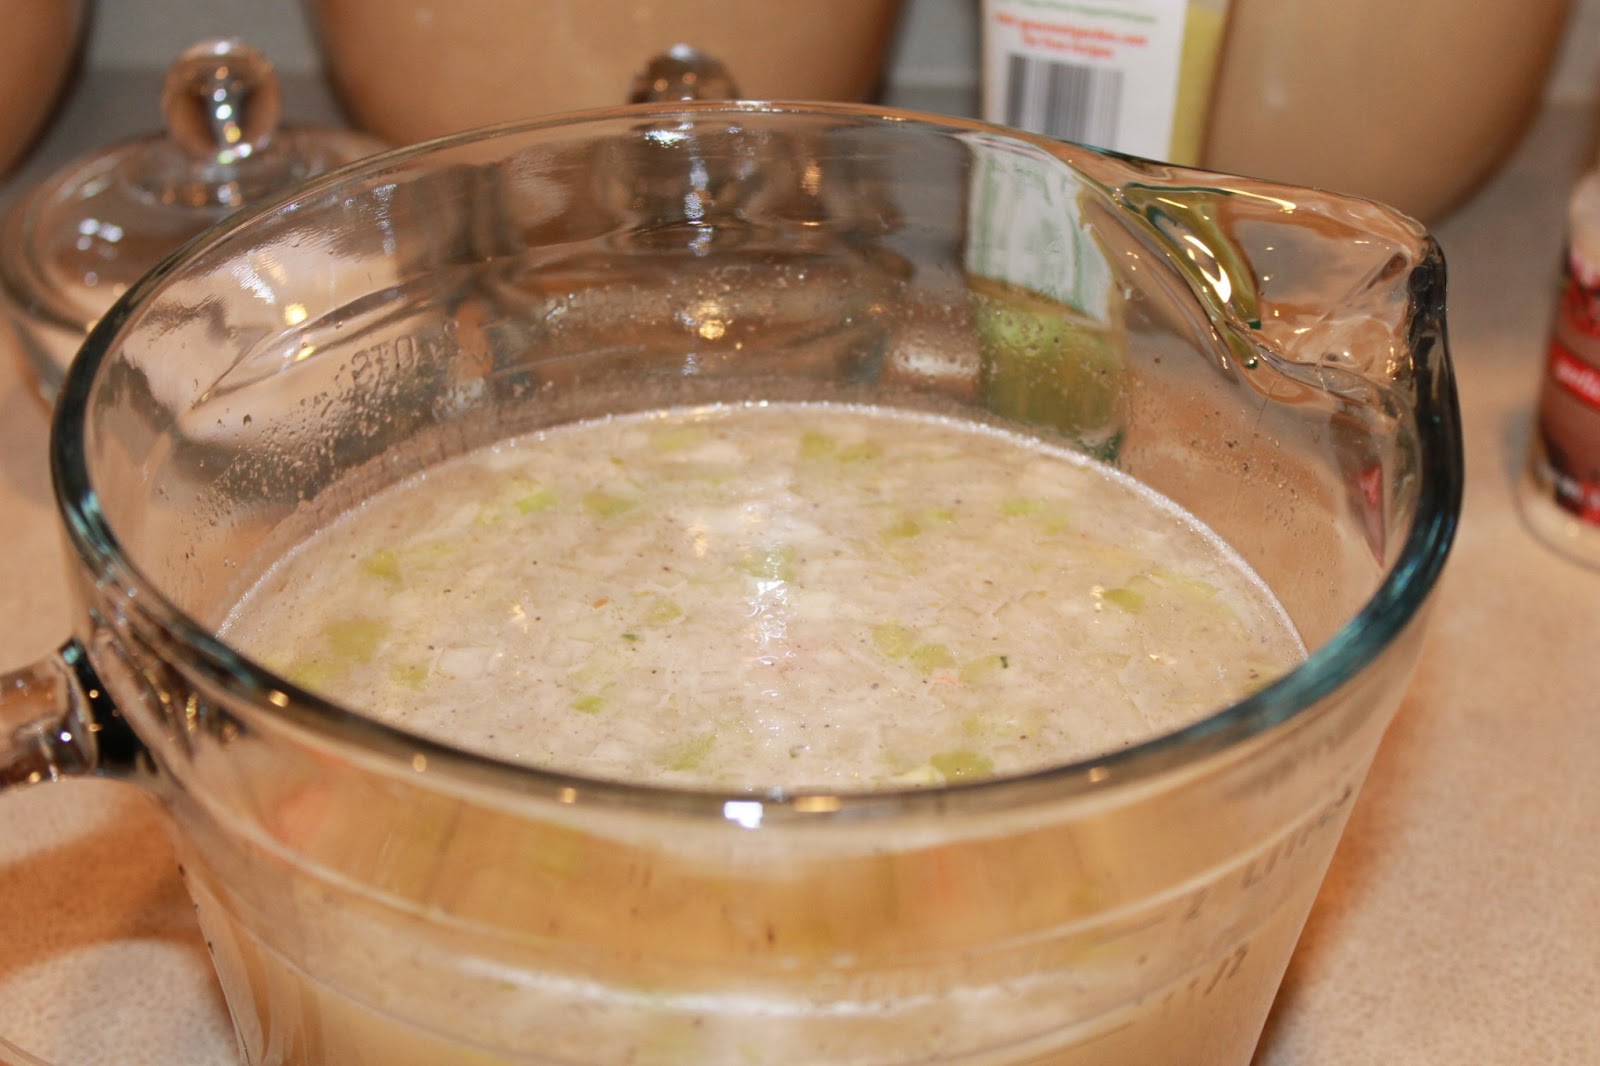
  1. Whisk the water, lime juice, lemongrass, onion, celery, carrot, salt, pepper, ginger, and garlic powder in a bowl until combined.
  2. Pour into a fondue pot (electric or manuel). Bring to a rapid simmer over medium-high heat. 
  3. Thread a piece of meat on a fondue fork; cook in brother to the desired degree of doneness. Throw the vegetables into the pot and remove with a slotted spoon when done cooking to taste. Serve with favorite dipping sauces.

Thursday, January 10, 2013

Skinny Pizza Pinwheels


This last week my husband came home from a year tour in Korea and in only a few days we will be making a long road trip to our new home half way across the country. So I may not be posting as much with the moving and unpacking I will be doing in the next few weeks. I will try to get on and post as much as I can. :)

I loved this recipe because it was so simple! We were going to watch a football game and I wanted to make something fast, but delicious. Very glad I found this recipe. They were done in minutes and I felt no guilt while eating them. When I find healthy game day snacks, I get very happy!


This is why seamless is better. My dough split apart and I thought keeping them in two pieces was smart, but it was not. I had to pull the pieces together, which was hard since I already put the filling on top. 


Skinny Pizza Pinwheels
dashing dish

Ingredients:
1 package reduced fat crescent rolls (seamless works best)
1/2 cup pizza sauce
1 teaspoon basil/oregano mix 
1/2 teaspoon garlic powder
1/4 cup turkey pepperonis, sliced into quarters (or mini turkey pepperoni)
1/8 cup shredded parmesan cheese
1/2 cup shredded mozzarella cheese

Directions:
  1. Preheat oven to 350º. Line a baking sheet with foil, and spray with non-stick cooking spray. Spread the dough out over the prepared baking sheet, gently pulling on all four corners of the dough to stretch the dough out a bit. (If unable to find seamless, pinch seams together, keeping it as one large rectangle.)
  2. In a small bowl, mix together the sauce, seasonings, pepperoni, parmesan cheese, and mozzarella cheese. Spread mixture evenly out over dough, spreading evenly.
  3. Starting at long end of the dough, start rolling until dough is rolls into a long skinny log. Cut into eight even rolls.
  4. Arrange rolls swirl-side-up on baking sheet, if desired garnish top with cheese, and bake for 15-17 minutes or until slightly golden brown. Serve warm with pizza sauce for dipping if desired. 
Makes 8 pinwheels.
Nutrition: (per pinwheel) Calories 120; Fat 6g; Carb 13g; Protein 5g

LinkWithin

Related Posts Plugin for WordPress, Blogger...