

In my last post I mentioned that I was back to calorie counting. It's been going okay so far. There have been no casualties or injuries. The people that know me well, know that when I get hungry, I am not the happiest/nicest person to be around. I'm finding that I need to always have snacks on me to curb those cravings. All that means is that I really have to be strategic about what I'm eating. Once you find the right snacks and meals for you though things get really easy. :)
With calorie counting, I have to be careful about desserts. I love desserts. My sweet tooth is bigger than my stomach that is for sure. So I went in search of low calorie, "healthier" desserts. That is when I stumbled across this beautiful recipe. Oh man, I can't even tell you how much I love cheesecake. If I could eat it everyday, and not gain an ounce, I would totally do it. So of course I was definitely going to make this and eat it all up. Well not all, that wouldn't help me at all in my counting.

Since this is made with plain Greek yogurt, it's not as sweet or rich as regular cheesecake. When you are trying to eating a little healthier sometimes you have to change up the things you love. Even though this wasn't the sweetest cheesecake I ever had, it was definitely one of the best. Knowing that one slice wasn't going to make me feel full and weighed downed made it even better. My husband even went back for seconds, and he doesn't like sweets as much as me. :)
If you aren't sure about the tartness of the yogurt, taste the filling before you pour it into the pan. I made sure that it wasn't too tart for me and it was delicious just the way it was. If you need a little more sweetness you can add a little more sugar or any other sweetener you like. Just make sure with whatever you add, add it in very small portions. You can always add more if at first it's not to your liking.

Then you have the options with toppings. I chose to use raspberries (because they were on sale that day) and leave out the honey. You can use peach slices, blackberries, or maybe even a berry compote. Bring out your creative side!


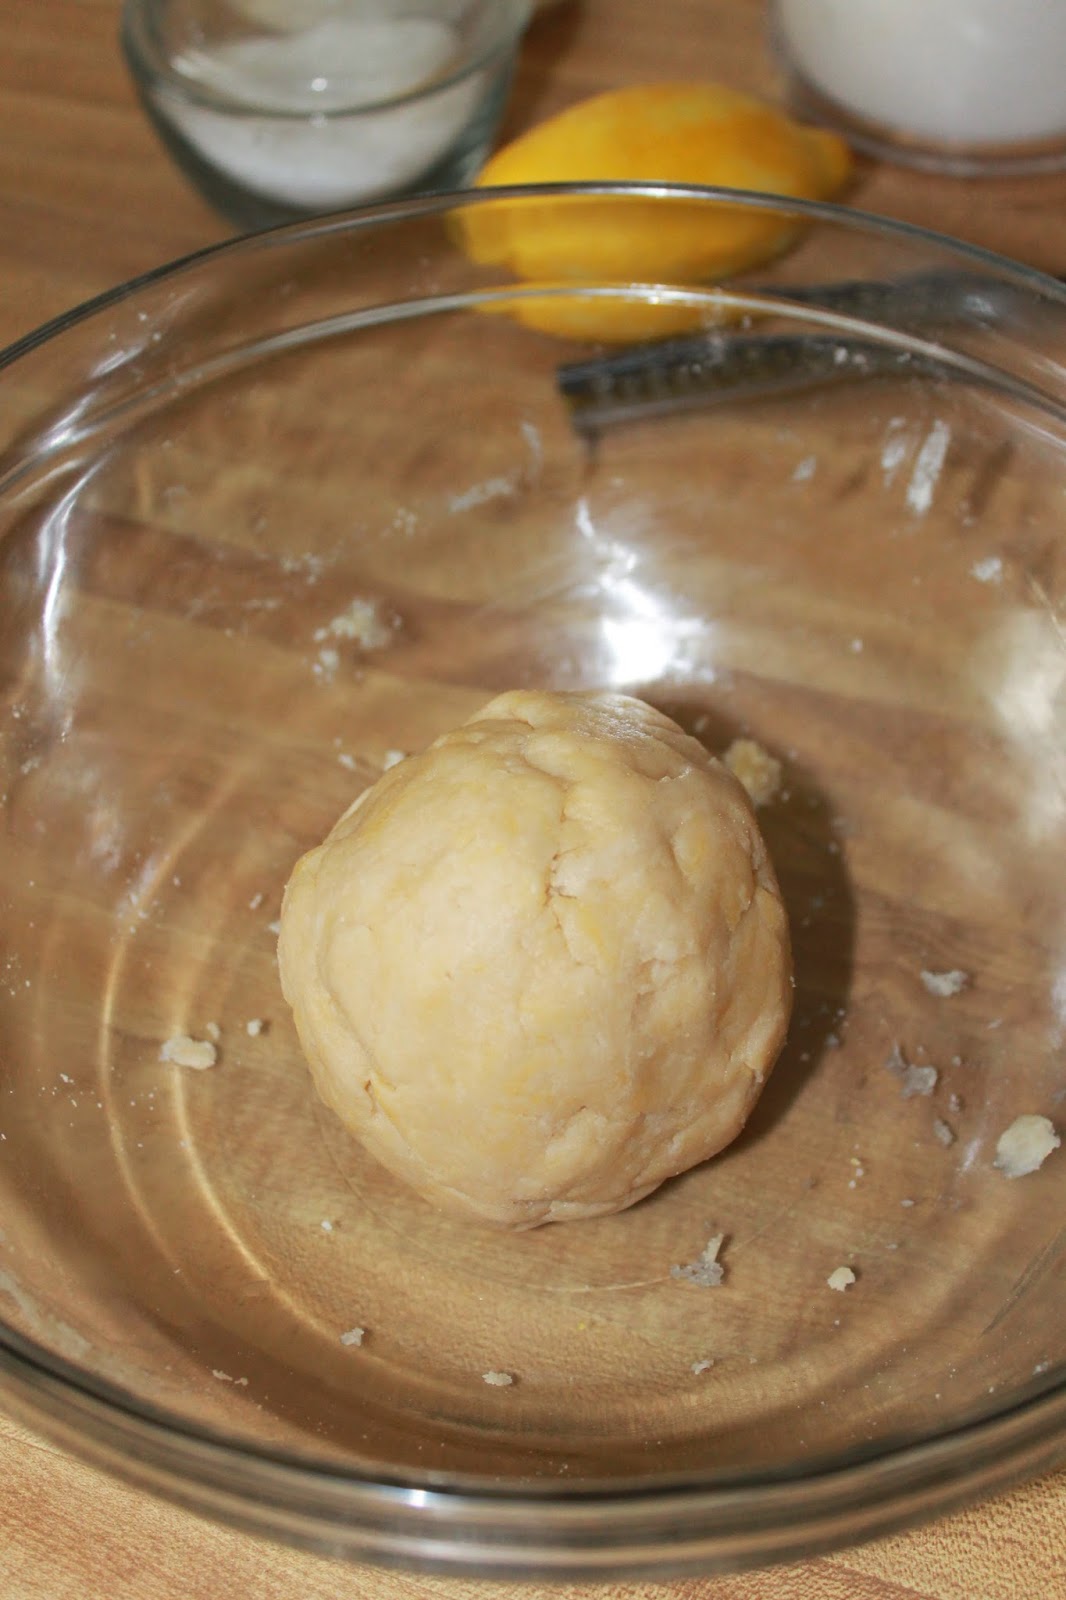
Using a pastry blender or fork cut in the butter. Make sure the butter is cold, that is how you get the wet sand look.
Let the dough chill in the fridge to make it easier to roll out.

Use the bottom of the spring-form pan on top of the dough to measure it out. A pizza cutter worked perfectly for me.

Place tin foil over the uncooked dough and weigh down with rice or dried beans.

While the dough cooks, get your filling ready. I don't have the lemon in the picture because I decided to add it in the end.


Using a food processor or blender mix together vanilla, greek yogurt, sugar, eggs, and lemon zest. When combined blend in corn starch and salt. Here you should taste it to make sure it is not to tart for you. (*gasp* I know. Raw eggs! I mean just the smallest taste, not a spoonful.)

Prick dough with fork, then put back in the oven to bake another 15 min. See note below recipe. Then, lower temperature of oven to 350F. Pour filling onto hot crust and bake at lower temp for 25-35 minutes.

Now when ready to serve, you can put on whatever fruit or toppings you picked.

The one berry in the middle was my husband's creative input to the cake. :)


Greek Yogurt Cheesecake
adapted from eatliverun.com
Ingredients:
Crust
1 stick cold butter, cut into small chunks
1 1/2 cups flour
1/4 teaspoon salt
2 tablespoon sugar
zest of 1 lemon
1 egg yolk
2 tablespoon cold water
Filling
2 cups non-fat plain Greek Yogurt (or 2 cups whole milk if you prefer)
2/3 cup sugar
pinch of salt
2 eggs
2 teaspoon vanilla extract (or 1 vanilla bean with seeds scraped out)
zest of 1/2 of lemon
1 tablespoon cornstarch
Topping (optional)
Berries/Fruit (raspberries, blackberries, peaches...etc)
1 tablespoon honey
Directions:
- Spray a 10-inch spring-form pan with cooking spray and set aside. In a large bowl, mix together the flour, sugar, lemon zest and salt. Cut in the butter with a fork or a pastry blender until mixture resembles wet sand. Mix in egg yolk and cold water. (Your hands work perfectly for this part.) Mix until dough comes together to for a ball. (Dough may be a little crumbly.) Cover bowl with plastic wrap and let chill for 30 minutes in refrigerator.
- Preheat oven to 375F.
- Roll out dough with a rolling pin to the same diameter as pan. The edges may crack, but roll it out until you can fit the bottom of the spring-form pan. Cut around with a knife, or a pizza cutter. Place dough circle in bottom of pan.
- Place tin foil, a little larger than the bottom of the pan, over the dough and cover with dried beans or rice to weigh down. Bake for 15 minutes. Remove tin foil and rice or beans and prick dough all over with fork. Return to oven and bake for another 15 minutes, or until golden brown. *
- Meanwhile, in a blender or food processor, combine the eggs, sugar, yogurt, lemon zest, and vanilla. Blend until smooth then add cornstarch and pinch of salt and blend again. Pour filling into hot crust and place pan on a cookie sheet, lower oven temperature to 350F and bake for 35 minutes.
- When done the cheesecake should jiggle a little in the center, it should not be brown on top. Carefully slide a thin knife/butter knife around the edges to help release the cake. Let cool on wire rack until cool to the touch and let cool for 2-3 hours in fridge before releasing spring-form.
- Keep in fridge until ready to serve.
- If desired arrange fruit over top of chilled cheesecake. Also if desired, melt honey in a small saucepan then drizzle over cake.
Serves 12
Nutrition: (per slice) Calories 219; Fat 9g; Protein 5g; Carbs 29g; Cholesterol 61mg; Fiber 1
*When I took out the dough the second time, it had shrunk and left a 1/8 of an inch around the edges. At first I was worried that the cake wouldn't come out right but I went for it anyways. In the end you could not even tell there was no crust to the very edge. So if this happens to you, don't worry!!
No comments:
Post a Comment