The colder it gets outside the more time I want to spend in the kitchen cooking tons of comfort food. We recently bought some pumpkin spice candles and the house has smelled so good. Everytime I walk downstairs I want to cook everything with pumpkin or butternut squash. I'm starting to realize that fall is becoming my favorite season. The changes of the leaves, the delicious seasonal foods, and the great clothes! I find that my closet isn't as great in the summer time, and all I want to do is wear scarves and boots. Of course if I did that in the middle of summer I would probably be very uncomfortable.
I have been looking at this specific recipe for almost two years now. It came in one of my many cooking magazines and since the day it arrived in my mailbox I have had it flagged. For some reason I have been to scared to make it. Now come on, you have to admit making chicken pot pie seems a little daunting and scary. There are lots of ingredients and it does take a little bit of time, but I have found that it is definitely worth it. I got all my ingredients together the morning of, and I set about two hours aside to prepare. The only thing I have to say is make sure you don't over pour the chicken mixture into your baking dish. I wasn't paying attention and for some reason I ending up with a dish full to the brim and a counter covered in sauce. Instead of throwing away the extra, I stored it in my fridge and just ate it like I would chicken soup. Who doesn't like a little bit of left overs? Now make sure to put your dish on a baking sheet while in the oven. I compelety forgot and I came back to find the sauce boiling a little and dripping down onto the oven coils. Was not fun watching little flames shooting up from the bottom. Thankfully I caught it just in time, but please do yourself a favor and save the clean up by using a baking sheet.


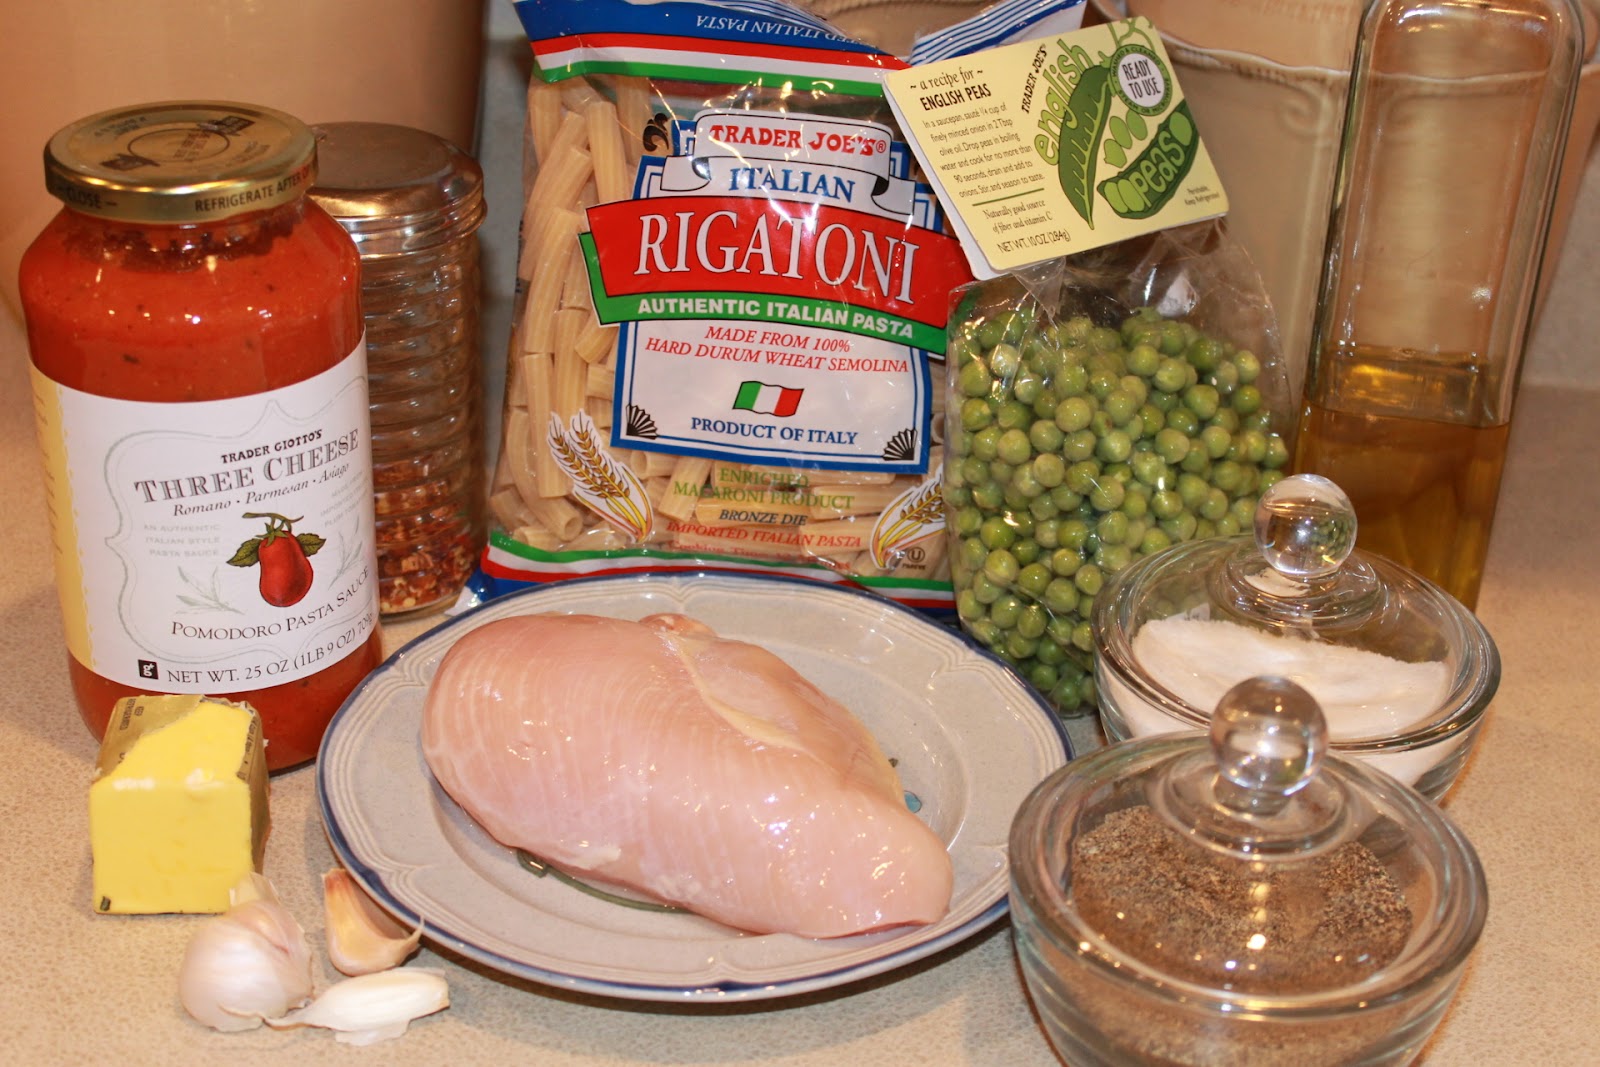
Light Chicken Pot Pie
CookingLight
Ingredients:
Crust:
1 cup all-purpose flour, plus more for dusting
1/4 teaspoon baking powder
1/4 teaspoon cold unsalted butter, cut into small cubes
1 large egg
2 tablespoons milk
Filling:
2 small russet potatoes
4 1/2 cups low-sodium chicken broth
5 medium carrots, cut into large chunks
1 to 2 teaspoons chopped fresh thyme
2 tablespoons extra-virgin olive oil
1 large onion, finely diced
3 tablespoons flour
1/3 cup milk
3 stalks celery, sliced
3 cups shredded rotisserie chicken, skin removed
1/2 cup fat-free plain greek yogurt
1 cup frozen peas
1/2 cup minced fresh parsley
salt and pepper
Directions:
- Prepare the crust: Pulse flour, baking powder and salt in a food processor until combined. Add the butter, one piece at a time, pulsing until the mixture looks like coarse meal. Separate the egg; refrigerate the egg white. Beat the egg yolk and milk in a bowl, then add to the food processor, pulsing until the dough comes together. Turn out onto a lightly floured surface and gather into a ball. Flatten into a disk, wrap in plastic wrap and chill at least 1 hour.
- Meanwhile, make the filling: Preheat the oven to 425º. Prick the potatoes with a fork and bake directly on the oven rack until tender, about 45 minutes. Cool slightly, then peel and break into small pieces.
- Bring the chicken broth, carrots and thyme to a simmer in a small saucepan over medium heat and cook 2 minutes; cover and keep warm. Meanwhile, heat the olive oil in a large pot over medium heat. Add the onion and cook until soft, about 8 minutes. Sprinkle in the flour and stir until lightly toasted, about 3 minutes. Add the milk, celery, potato pieces and the warm broth mixture and simmer until thickened, about 15 minutes. Remove from the heat and stir in the chicken, yogurt, peas and parsley. Season with salt and pepper.
- Transfer the filling to a 2-qt casserole dish. Roll out the dough on a lightly floured surface until about 1/8 in. thick and slightly larger than the dish. Beat the reserved egg white in a bowl; brush over the dough and season with salt and pepper. Press the dough against the sides of the dish. Place on a baking sheet and bake until the crust is golden brown, 20-25 minutes.
Serves 6.
Nutrition: Calories 482; Fat 19g; Cholesterol 137mg; Sodium 795mg; Carb 47g; Fiber 5g; Protein 31g